Baby Nursery Mural
My daughter and son-in-law live in Texas. They are expecting their first child, our first grand-baby. Though I swore that I’d never fly, a plane trip was a bit of a necessity if I was going to be in Texas to offer assistance and dog sit during the birth. I was excited about the baby, and spending time with Jessi and her husband, but I was also looking forward to working on a DIY project of creating a baby- nursery mural of the Misty Mountain.
When our children were little my husband and I read to them daily. Each night we would read a few chapters from a book before bedtime. Of course, I read the favorites from my childhood such as “The Boxcar Children”, “The Lion, The Witch, and the Wardrobe”, and The Lord of the Rings series. Being dyslexic, I wanted to give our kids a love of reading to help them overcome any possible struggles they may have inherited from me. Luckily neither of the two is dyslexic, but the family reading time instilled a love of reading. I would have never dreamed of how this love of reading would spill over into other areas of their adult lives. With my daughter, her love of fantasy comes to life in her art.
First Project
Jessi is a mixed media artist with an emphasis on digital art. She sells her art at shows and conventions and is featured on merchandise that is available for purpose online. She also does art commissions. When she found out that she was expecting she decided to do a fan art version of the Misty Mountain from The Hobbit mural on a wall in the nursery and asked for my assistance in executing her design. One of her favorite books that we read during story time was The Hobbit, and this is the theme that she and her husband chose for the baby’s room. The theme was her way of passing on a family tradition that incorporated her and her husband’s love of Dungeons and Dragons.
Concept Art Brought to Life
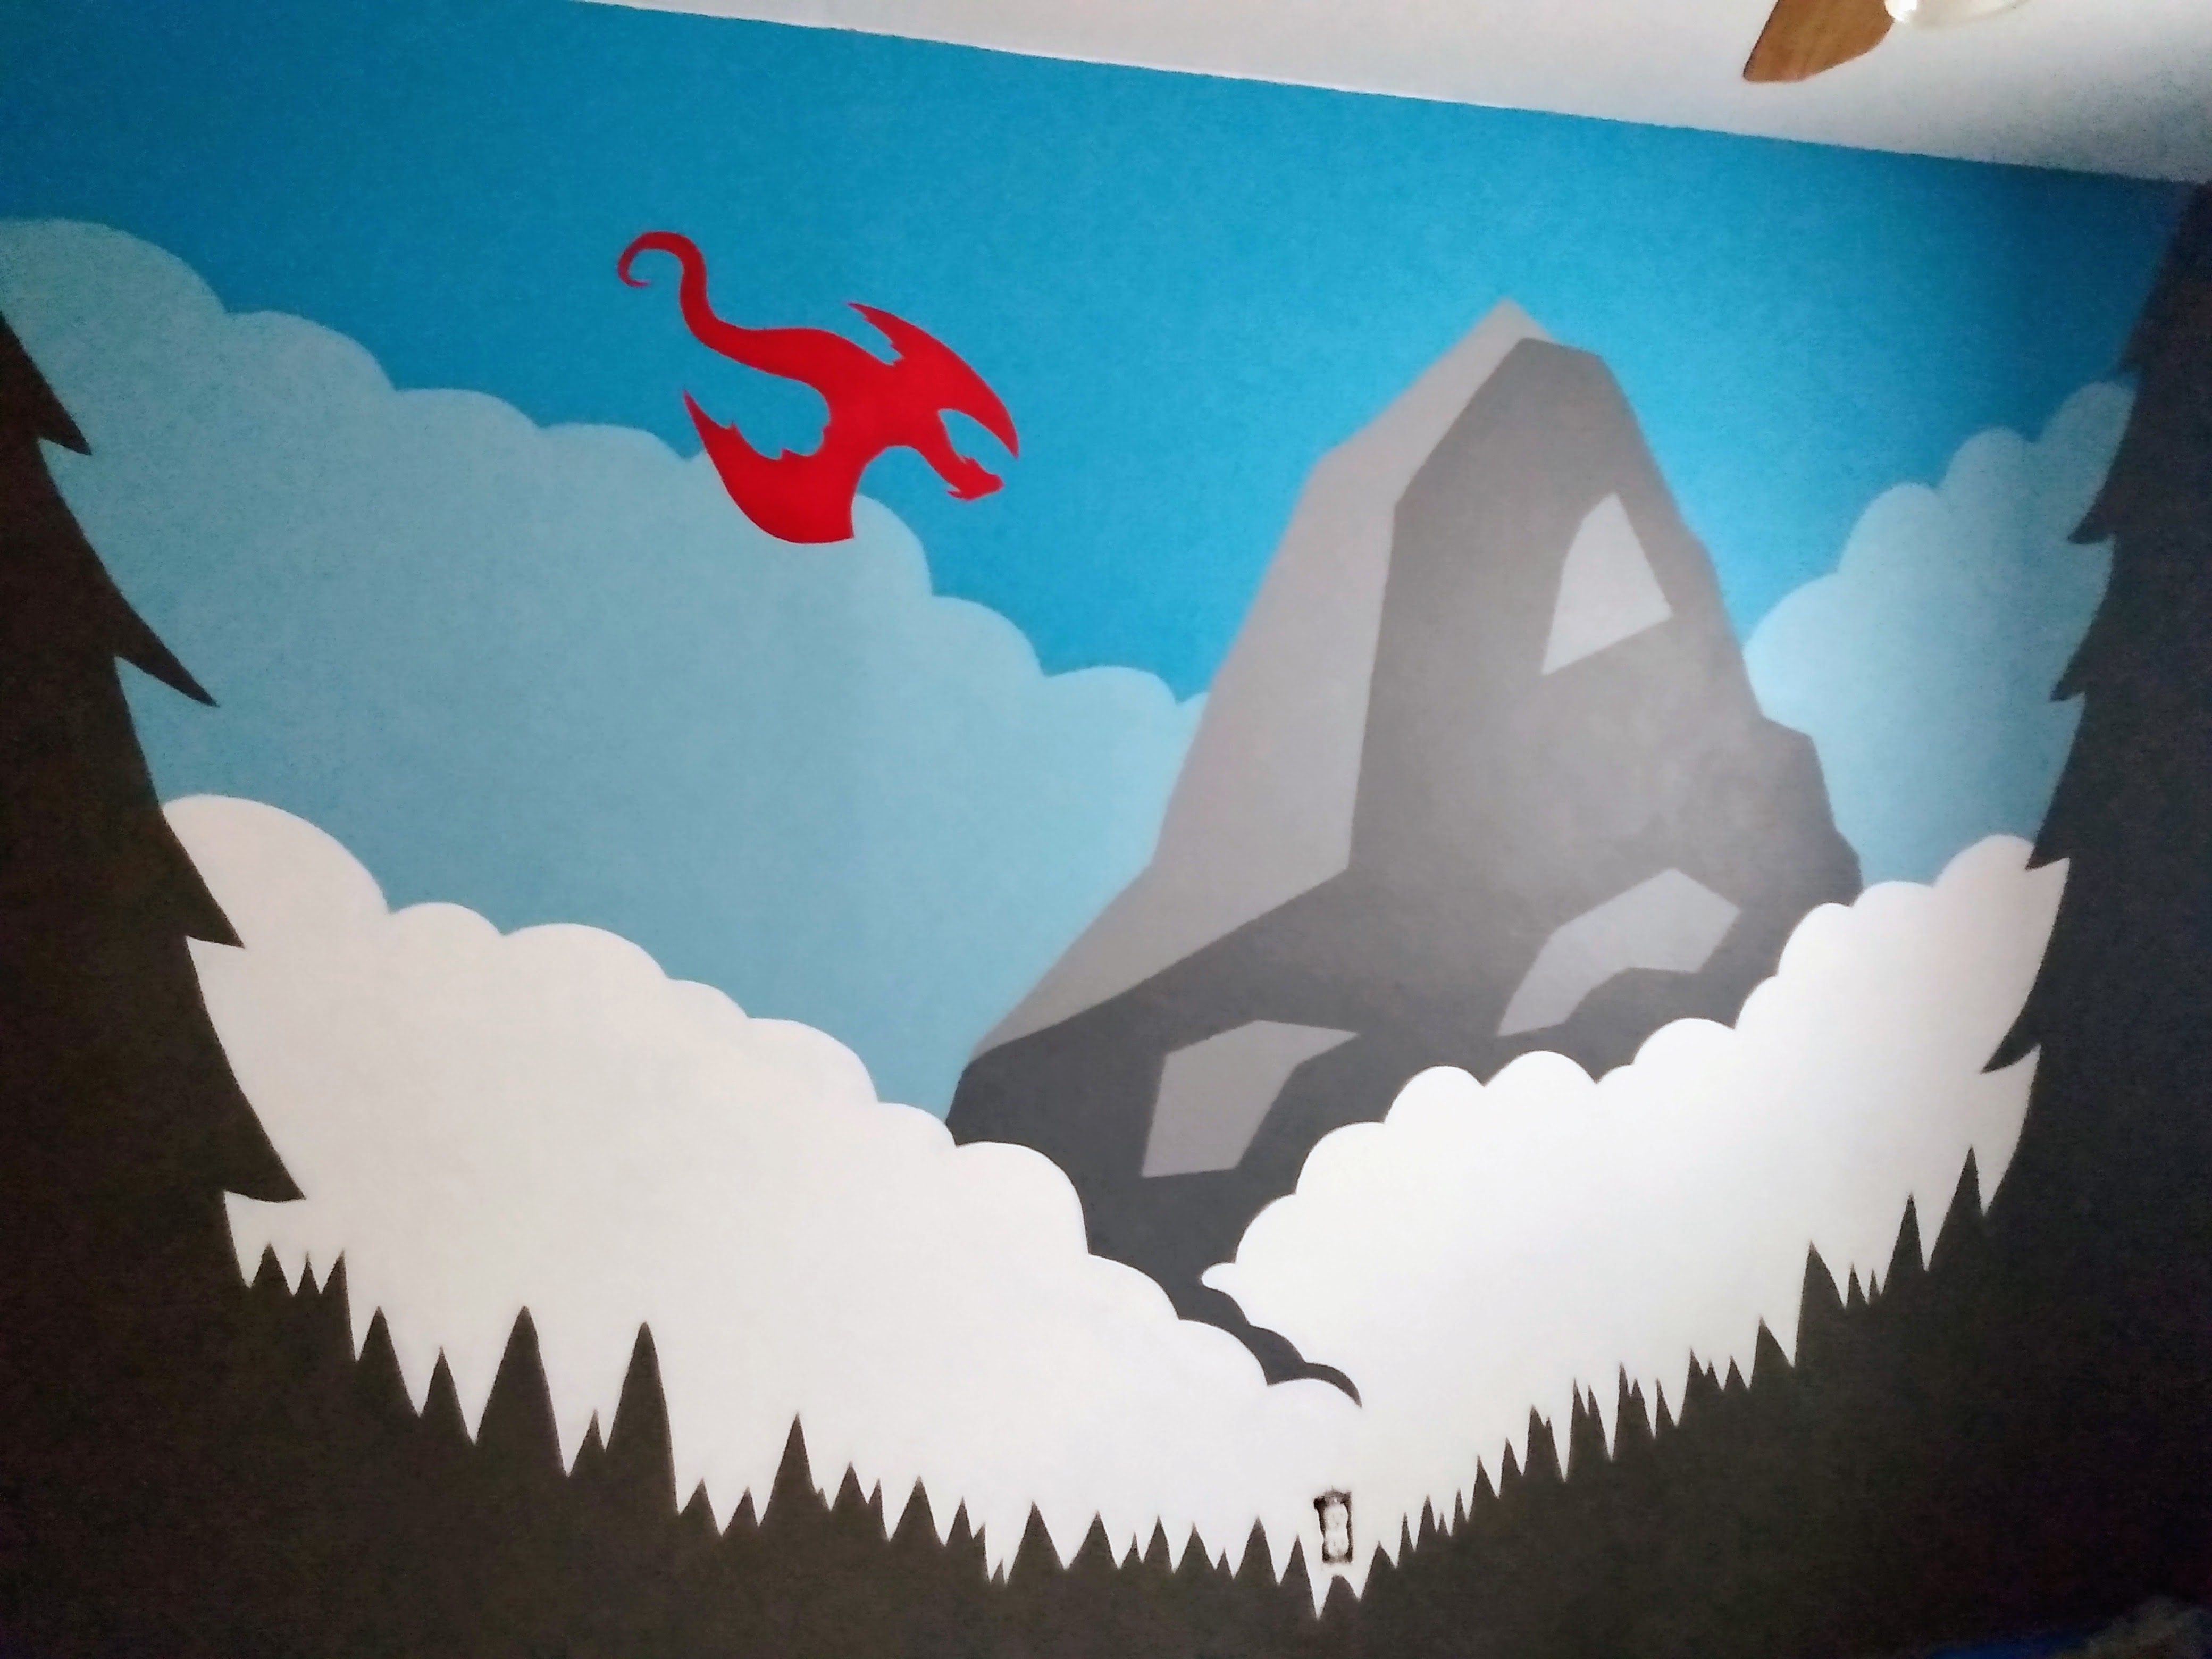
Jessi had the concept art completed months ago. She had sent me a digital copy of the work, so I knew what the design would be. She chose clean, crisp lines to give the mural the look of a page from a children’s book. The design was simple, and free-handing it onto the wall seemed easy enough. She ended up having to draw it to scale because our art styles differ. Yes, I could have drawn it on the wall but I wanted it to be exactly the way she had imagined it.
Preparations
- Decide on a design
- Choose paint colors & buy paint (Jessi bought quart cans of paint)
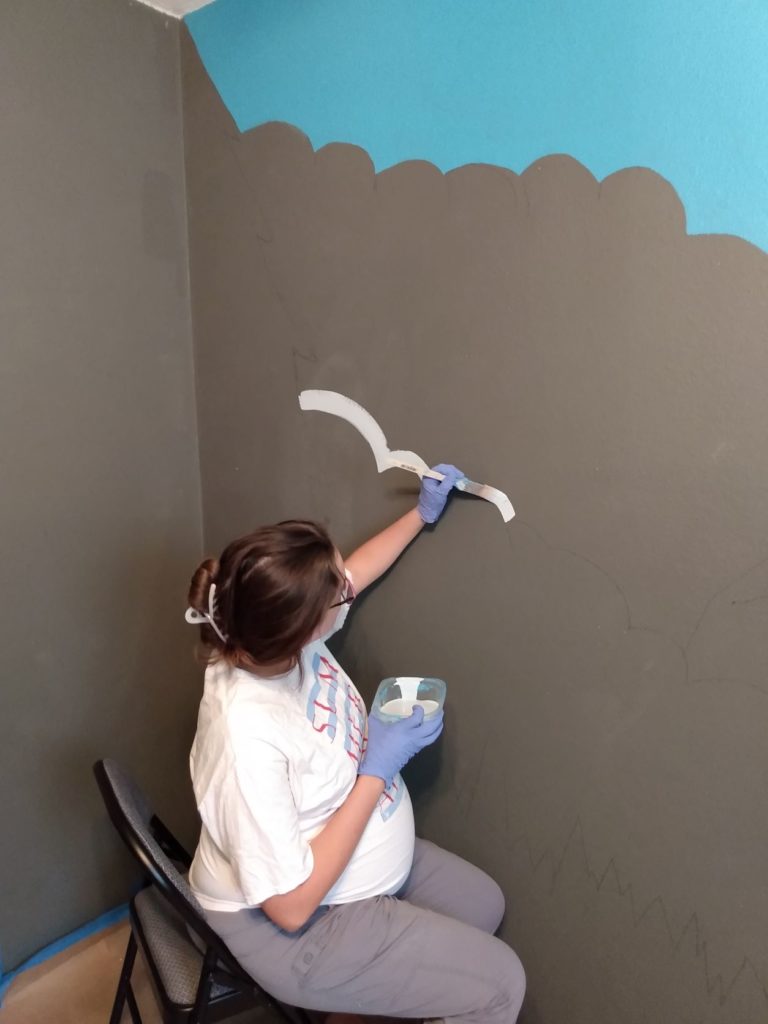
- Draw an outline of the mural on the wall (we used a charcoal pencil)
- Cover the floor with a protective barrier
- Tape around the border of the wall & ceiling
- Gather brushes, cloth for cleaning up mistakes, paint can opener, paint pans or bowls with lids for paint, paper towels, gloves, and any other tools needed.
Painting the Mural
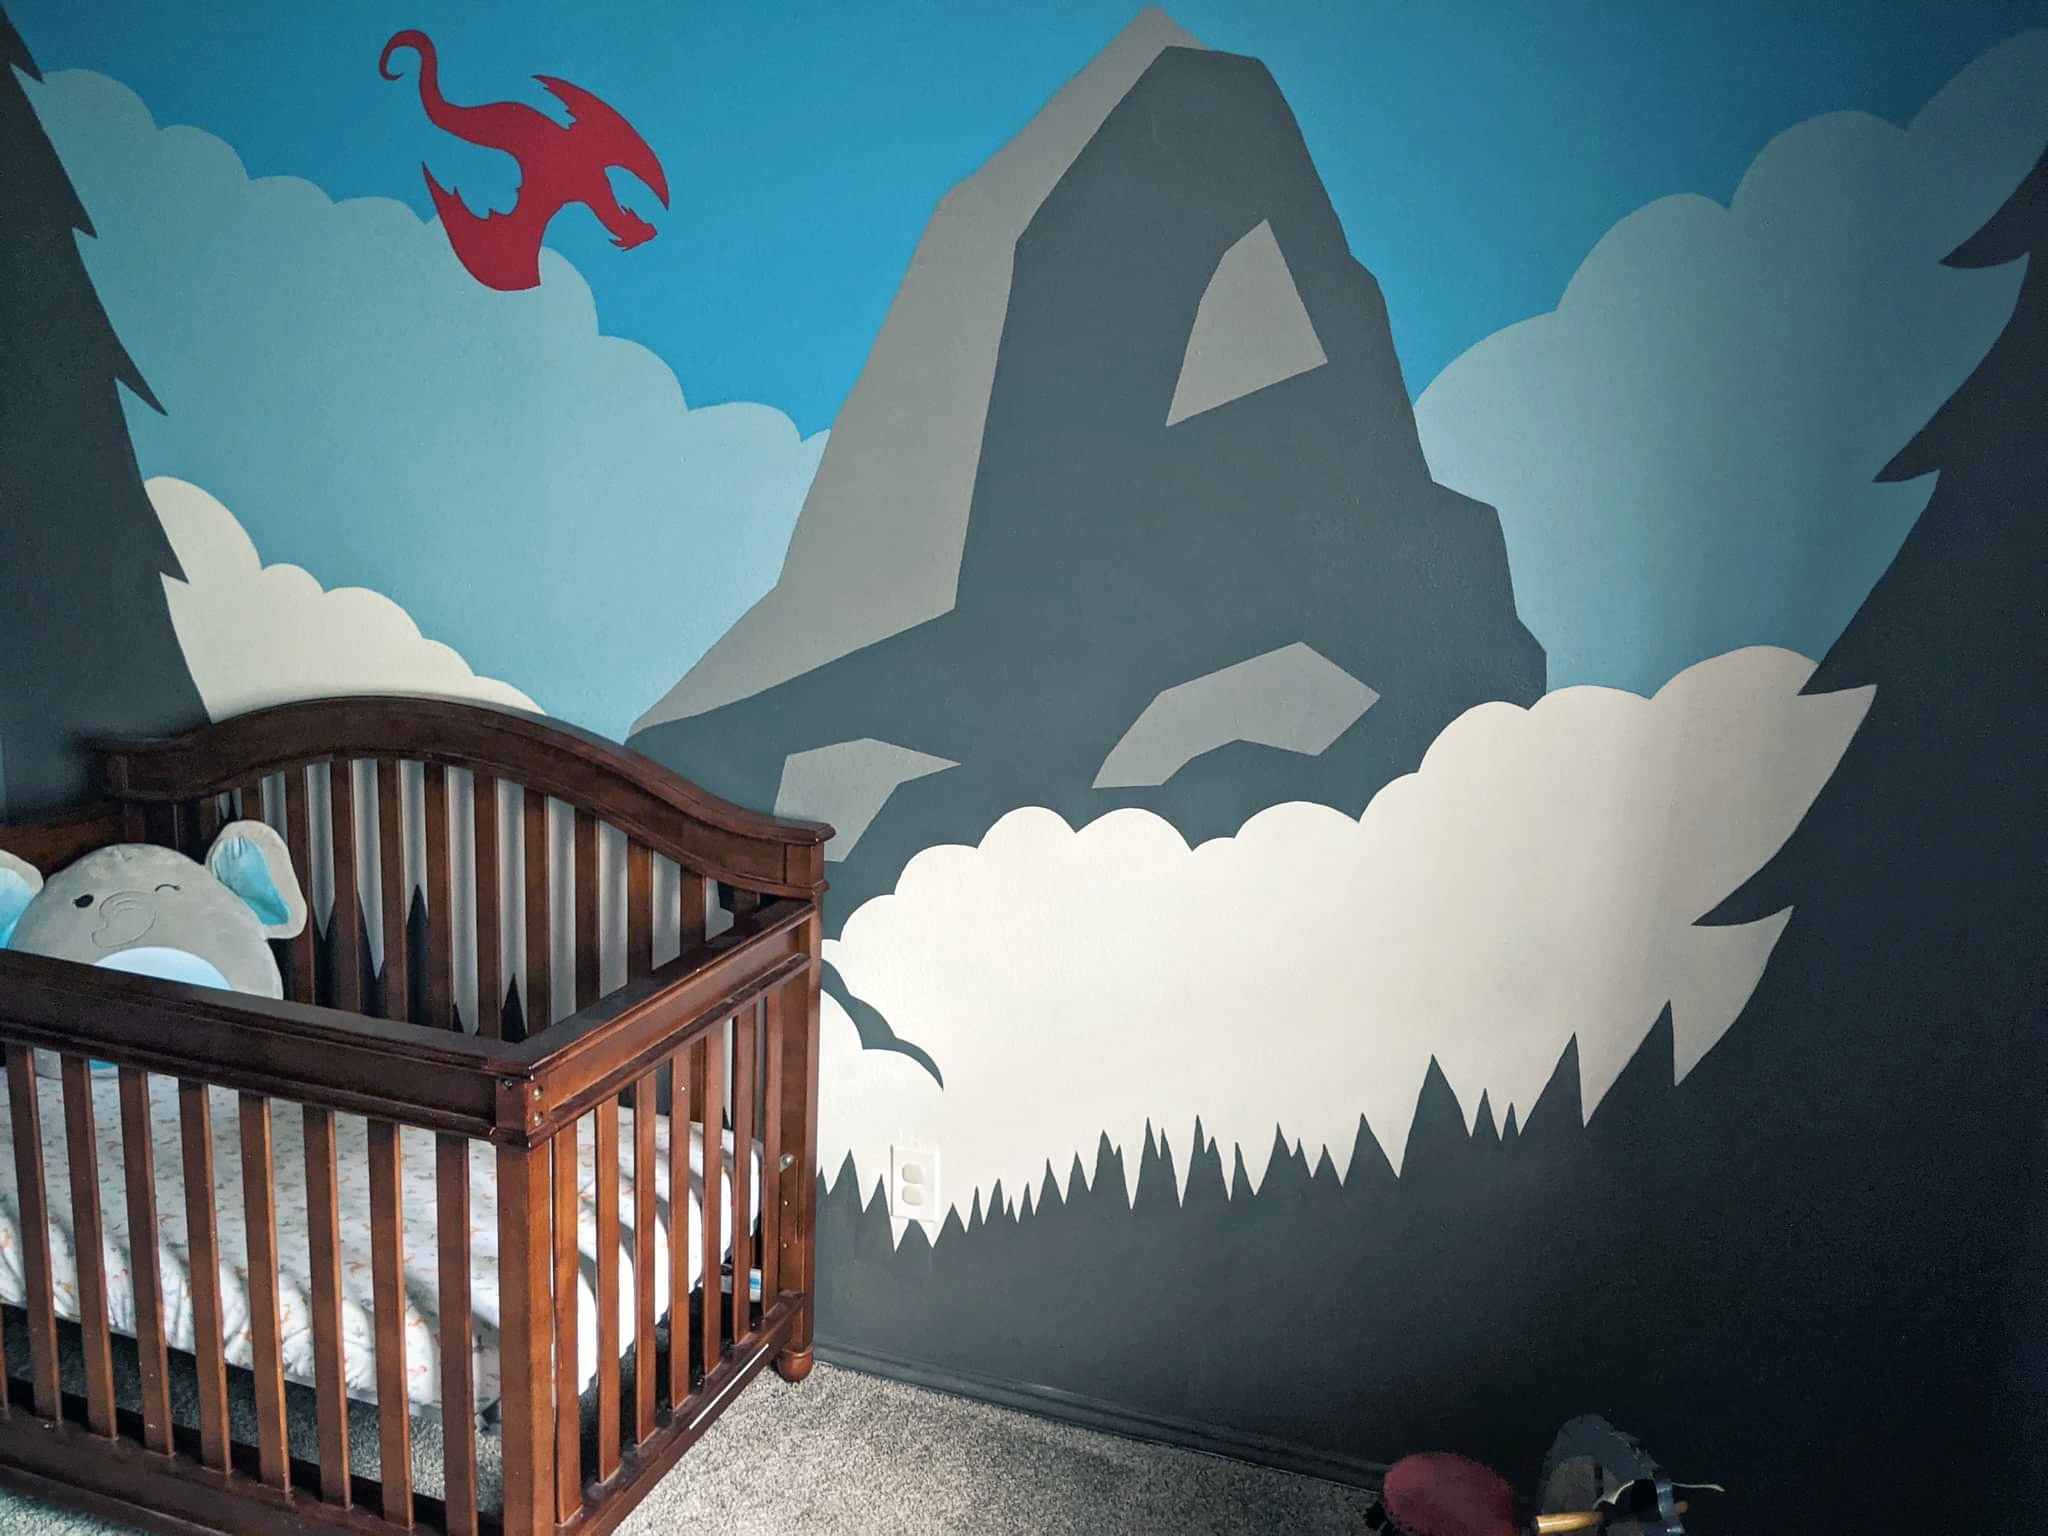
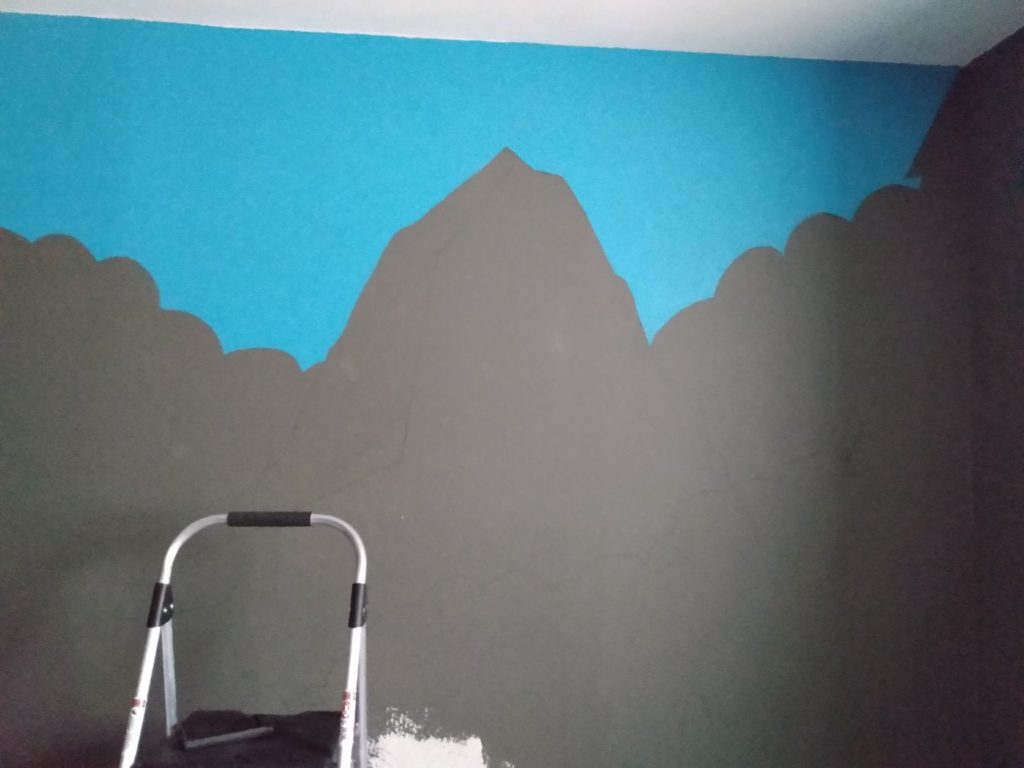
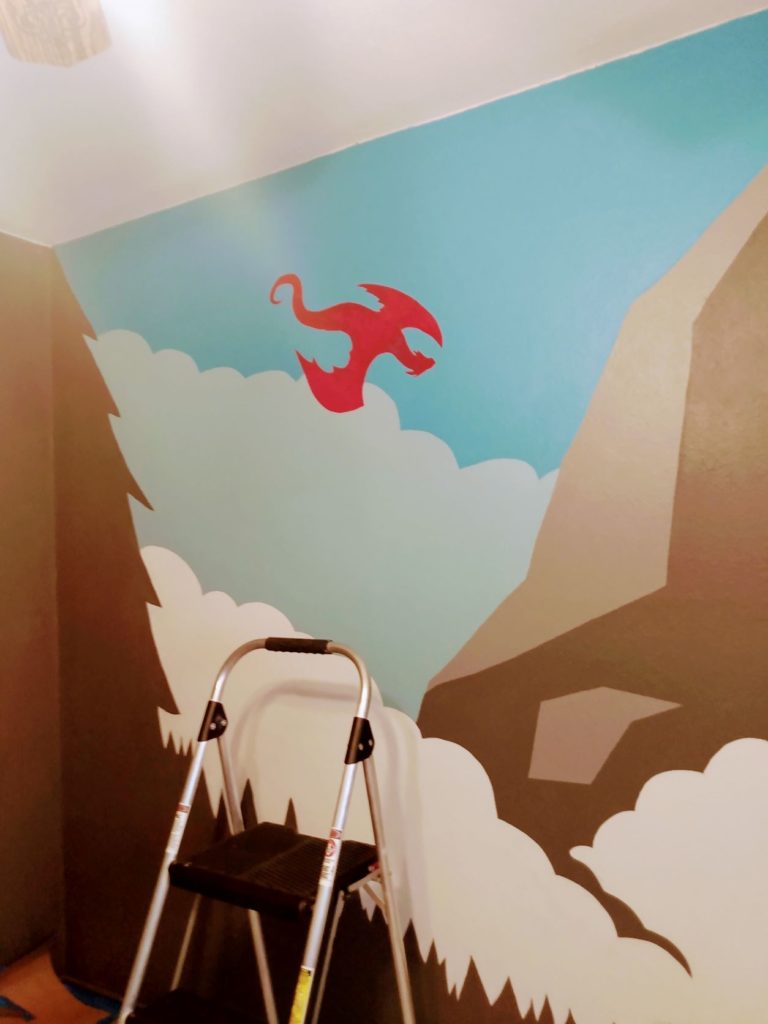
When you are painting a landscape always start on the area that will serve as your background first. Think of it as “stacking or layering” the different parts of the mural from what appears farthest away to what appears closest to the viewer. For this mural, the background (first layer) was the sky. It is behind both the mountain and the clouds.
Once the first layer was completed, we continued painting in the layers. The dragon was the last thing to be added to the mural. And since Jessi could not quickly draw in the outline, we decided that the best way to go about it was to make a template on paper. After she had drawn out the dragon and cut out the shape, I simply added painter’s tape to the back to hold it in place as I stenciled it onto the wall. From there I carefully painted Smaug flying toward the Misty Mountain. It took us three days total to complete this mural. We took our time with it and enjoyed the time spent together. It turned out amazing.
Ready to Create Your Own Mural?
The possibilities for adding art to your home with a mural are endless. You can make your mural as simple or detailed as your heart desires. If you are worried about your artistic ability, using stencils is an option instead of free-handing outlines. Also, practicing on a small canvas can help you decide on color choices, and how detailed you want your mural to be. Jessi used digital concept art for this purpose. But remember, art does not have to be perfect.
I truly believe that anyone can create art, it just takes a bit of patience, practice, and self-confidence. If you decide to create your very own mural masterpiece, please drop a line and share it with us. There is nothing that I love better than seeing the art of others.
Please subscribe to my blog and share it with friends. Stop back by often for a look into my newest adventure.
You’ll take care now,
Vikki
Links That May Interest You
Want more projects to help prepare for baby? Then check out this sweet burp cloth DIY.
Links to Jessi’s art:
Artsyrobotz: This link will take you to a list of sites where you can view Jessi’s art.