
How to Paint a Pumpkin
As fall approaches I find myself wanting to create new decor pieces for my home. I have never had the luxury of being able to just go buy decor. Honestly, I don’t think that I would if I had the chance. There is just something so pleasing in knowing that you created the beautiful things that make your house a warm and inviting home. If you love pumpkins and Fall, then this DIY on how to paint a pumpkin is for you.
- canvas
- acrylic paint in preferred colors
- brushes: small round brush, medium round brush for filling large spaces, liner brush, small shader-brush
- table cover (old newspaper or wax paper will work)
- piece of wood (to elevate the canvas off the paper) or an easel
- paint palette (I up-cycle disposable bowl lids)
- container for water (upcycle a disposable jar or bowl)
- old cloth
- pencil
- carbon paper?
- pumpkin graphic (see my free traceable downloads below)
Things to Consider Before Starting
- Decide on your design.
- You are welcome to download and print my free pumpkin and pumpkin leaf graphics for personal use. The graphic download is designed for an 8 x 10 sized canvas. If you are using a larger canvas, you will need to enlarge the graphic to fit, you can use carbon paper to transfer the design to your canvas.
- Decide on the color scheme that will best fit your exciting home decor. I chose gray, pastel orange, burnt-sienna, forest green, light yellowish-orange, and white as my color palette for this painting.
Ready, Set, Paint
Step One:
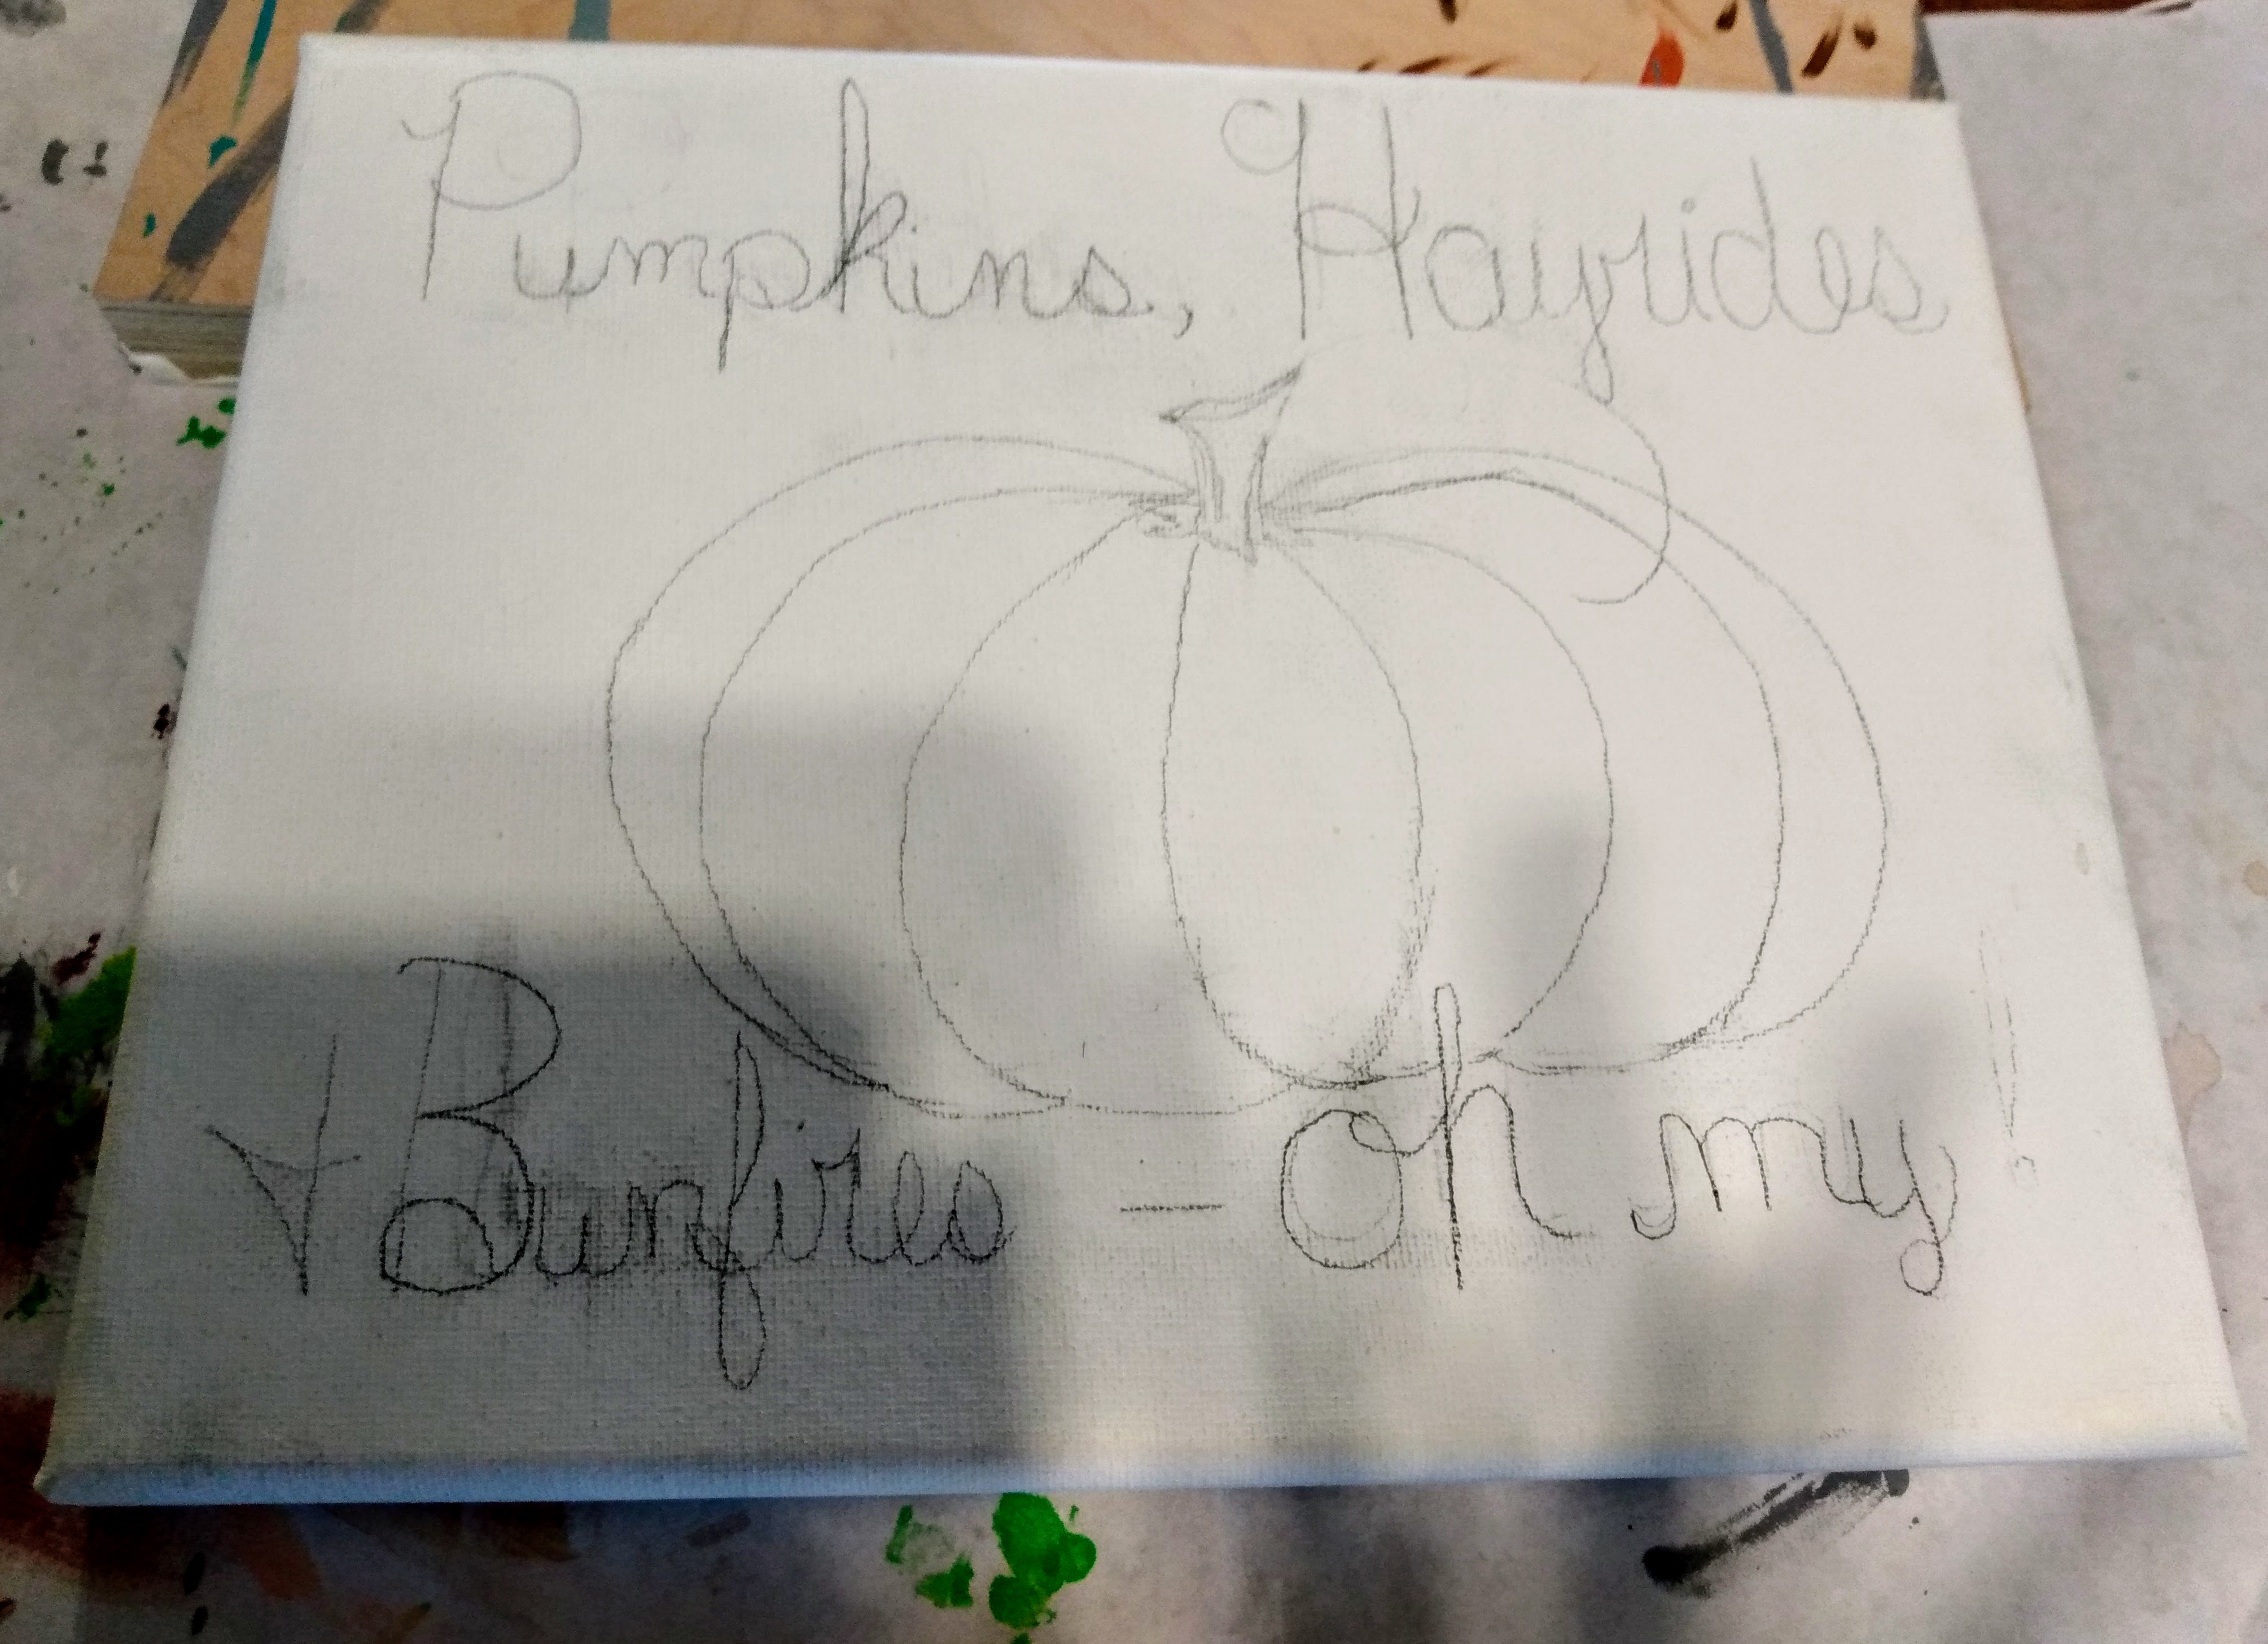
Transfer, or free-hand, your design onto your canvas.
Step Two:
Once your design is laid out on your canvas, using a medium round brush, fill in as much of the background as you can without hitting your pumpkin. Use a liner to finish areas close to your pumpkin. Let your first layer dry for at least an hour, then go over it a second time.
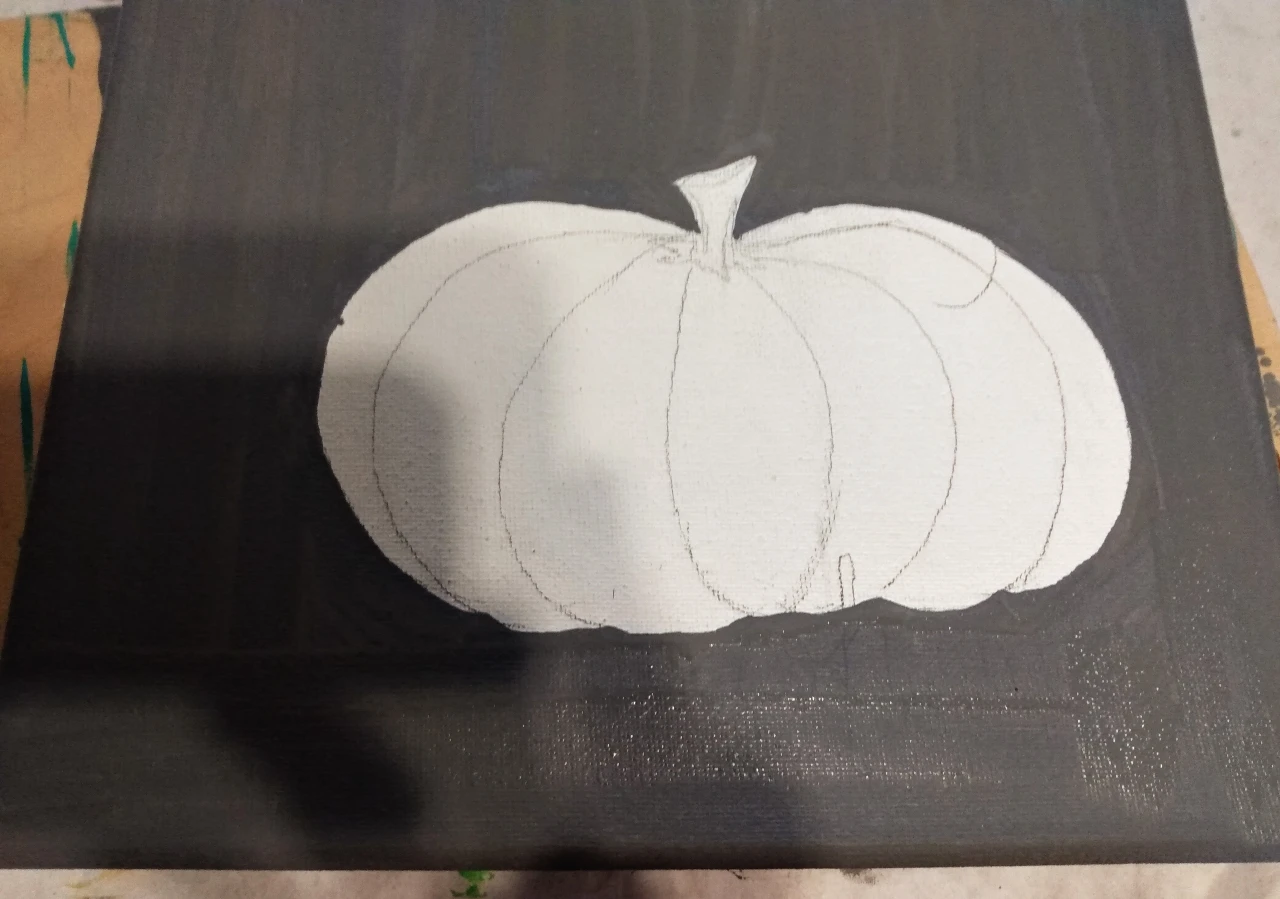
Note: Any details that you have sketched into the background can be easily removed. I originally had wordage on the canvas and decided to paint over it.
Step Three:
Choose the background color for your pumpkin. I used a light flesh-toned color, but you can choose any color your heart desires. For this step, I used a medium round brush.
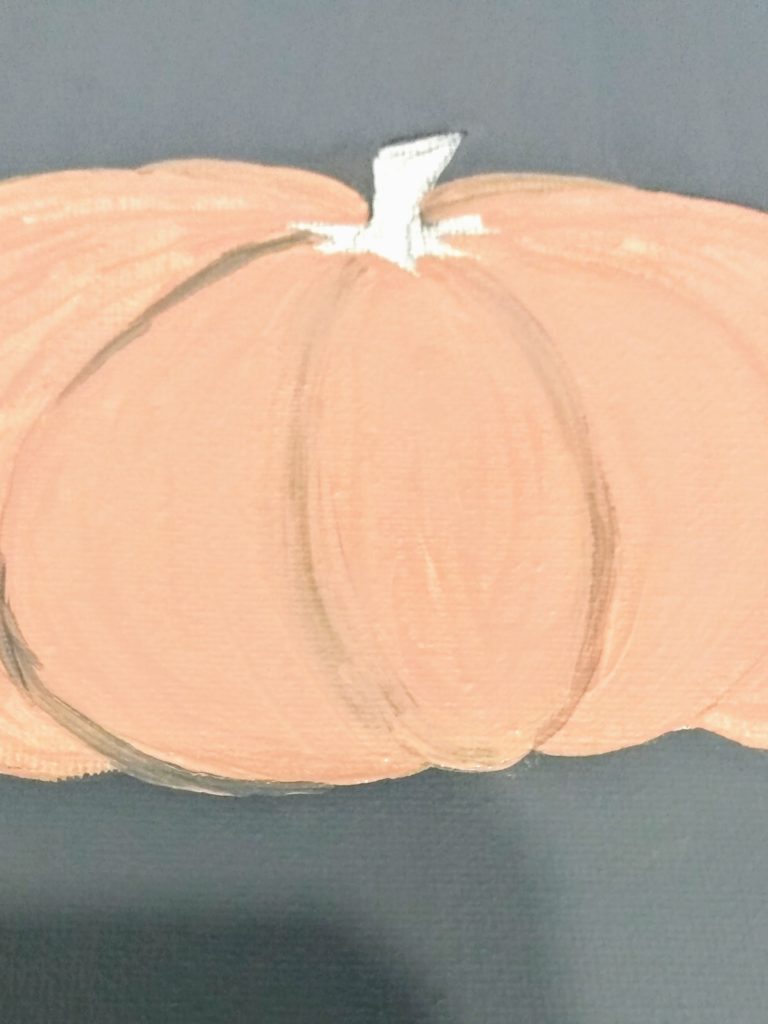
Notice that as I painted in the background color on the pumpkin, I pulled the brush along in a sweeping curve. This will add dimension to the finished painting.
Step Four:
Start shading in the sections of your pumpkin. I used a small shading brush for this step.
Try not to outline the pumpkin, but instead blend the shade color lightly with my background color. Notice that the first layer of shading is a bit wider, later a second thinner layer will be added in a darker color.
Step Five:
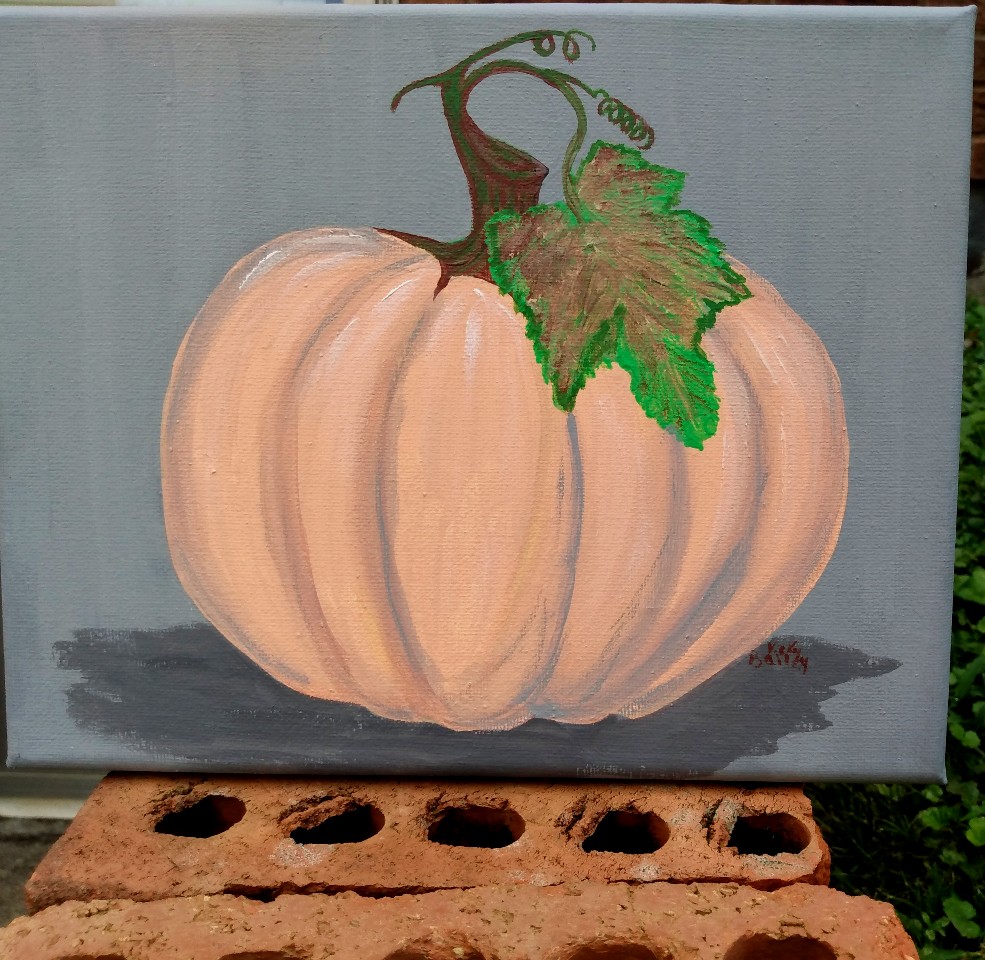
Add highlights to your pumpkin. In order to do this, decide where the light source would be in your painting. If it is from behind, then the shadow at the base of the pumpkin will be in front of it. Notice that for my pumpkin the light source would be from the back. Highlight the top of the pumpkin, along with a bit of the front, and place the shadow to fall directly in front of the pumpkin and a bit to each side.
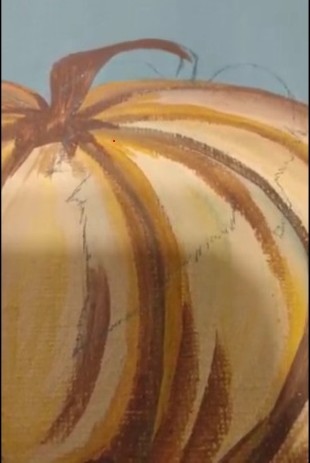
Adding the Stem & Leaf
I next painted the stem. By painting the stem before adding the leaf, it allows for a more natural-looking placement than if you go back and try to add details to the stem later. I added a small amount of forest green to contour the stem. I layered a lighter color blended from the brunt-sienna and the flesh tone of the pumpkin. Here I used burnt sienna as the background color for the stem. To create the curly-swirls, I used brunt-sienna base, topped with green, and lighter brown high lights.
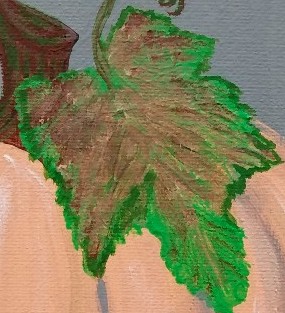
For the leaf, I free-handed the design onto the pumpkin. Using the same forest green, I outlined the leaf (using a small liner brush).
Note: This photo is of a different painting, but you can see the leaf design being added in the same manner mentioned above.
Next, I filled in the center of the leaf using a small round brush. For this, I used the custom blended color created from mixing the brunt-sienna and the flesh toned paint. I followed this up with details in greens and brunt-sienna.
Tips & Tricks
- Try not to over-blend the colors as you apply them.
- Test your colors on paper before adding them to your canvas.
- Create your pumpkin in layers: background- allow to dry then add a second coat of paint; background of pumpkin- allow to dry, add a second coat of paint; Shading and highlights allow to dry; Stem, allow to dry; leaf, allow to dry.
- Once you become more experienced in layering color, you may be able to skip the layer/dry method, and instead opt for blending and applying color as you work to complete your painting.
- Almost finished! But, before we have you sign your masterpiece, give your amazing art a once over. Are there any messy edges that need to be tidied up, and does the background need to be touched up?
Gallery of Pumpkins and Paintings
I am adding photos of other paintings that I have done so that you can get a feel for what color pallet may work best for your space. Notice that my pumpkins are always different.
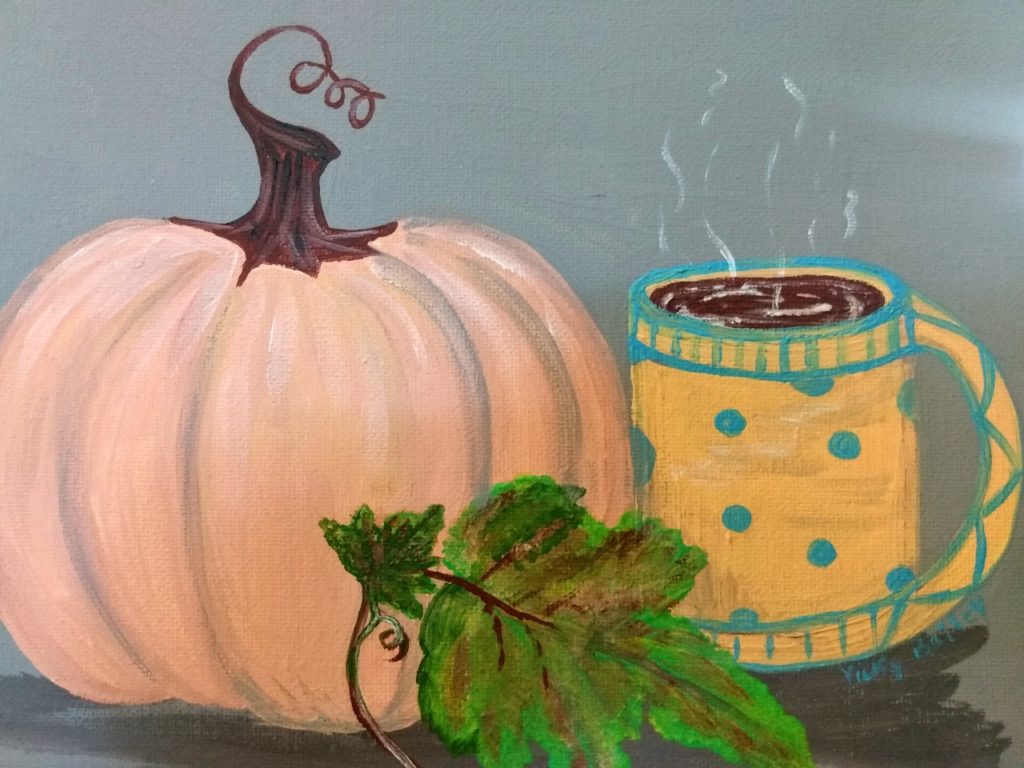
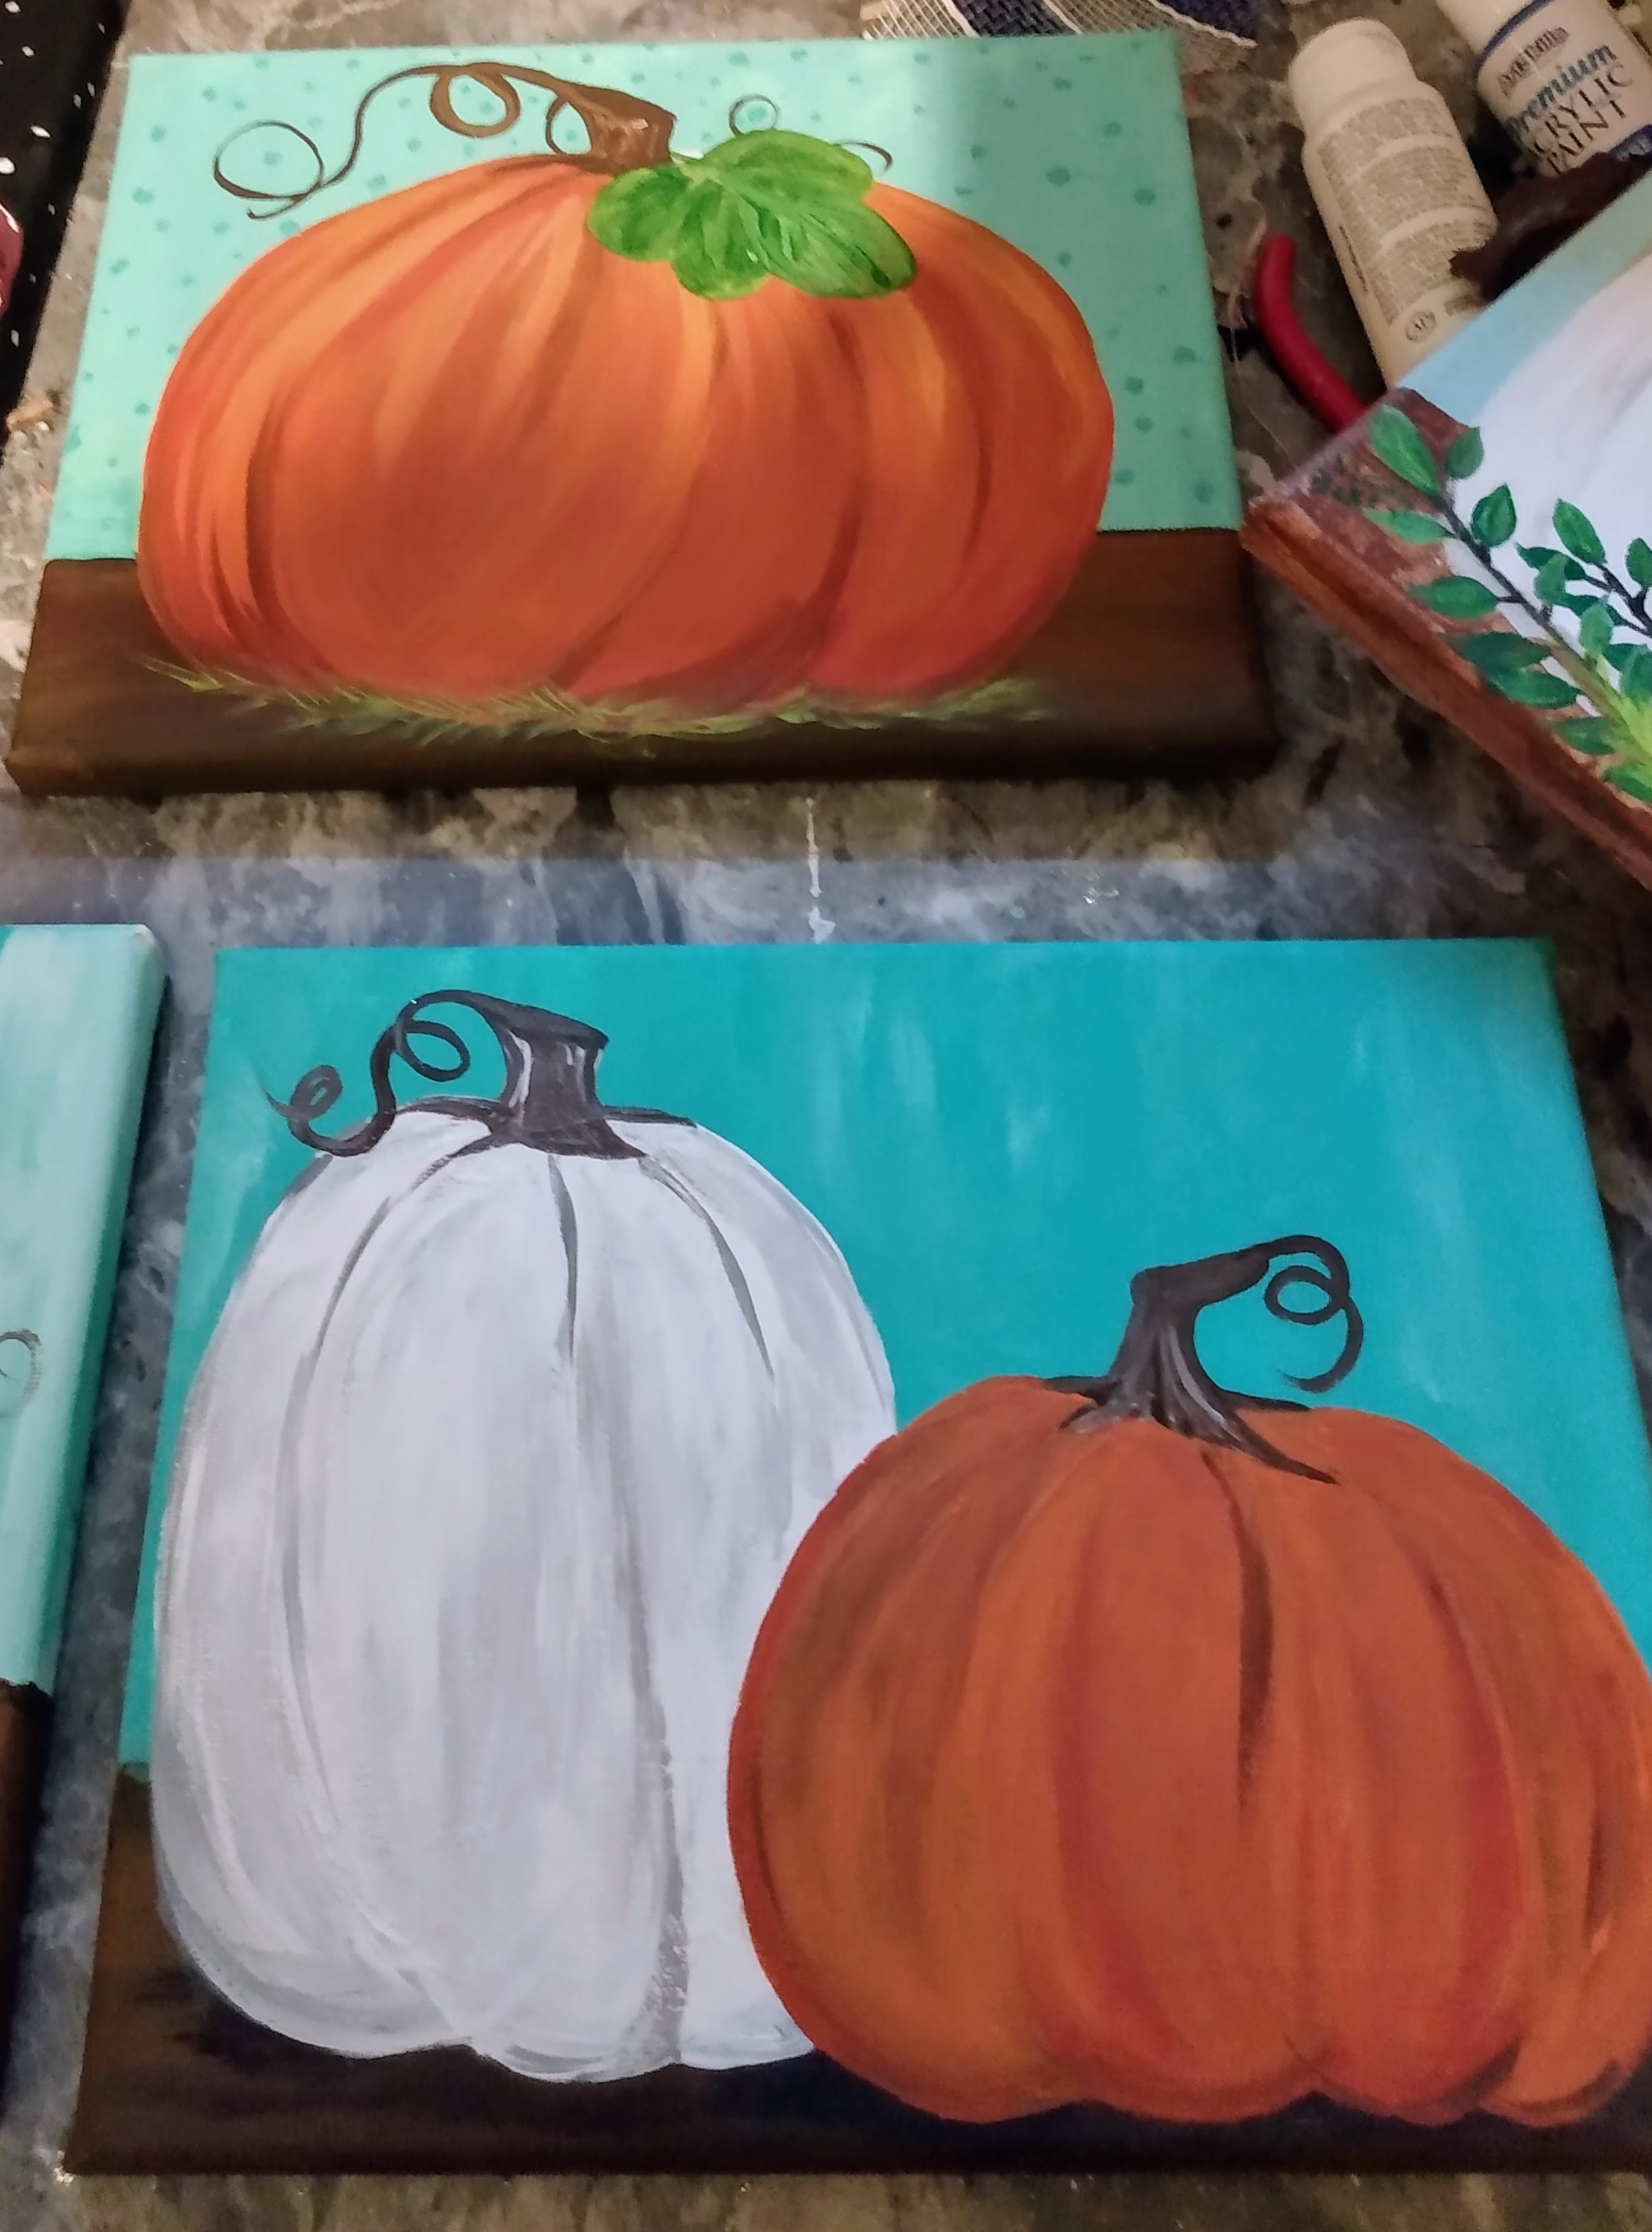
When you are painting pumpkins remember that no two pumpkins will have the same color or shape. It is okay if your pumpkins are not perfect, that just makes them as unique as any pumpkin should be! Pixabay offers free and paid graphics for use, the photos below are from their immense graphic library.
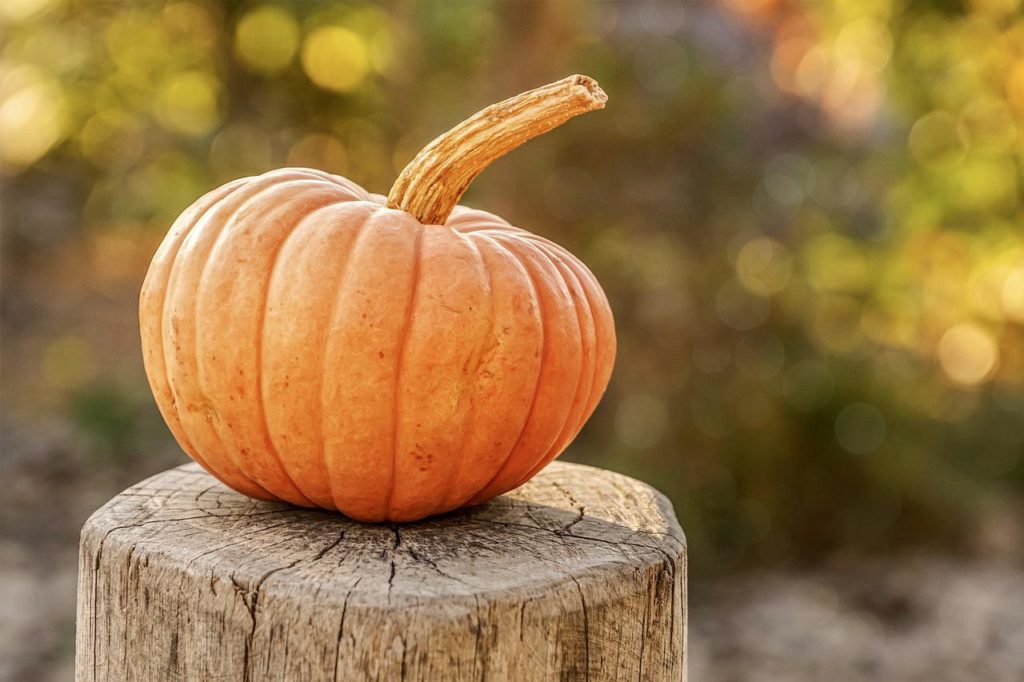
I used this photo as a guide when choosing my background color for the body of my pumpkin.
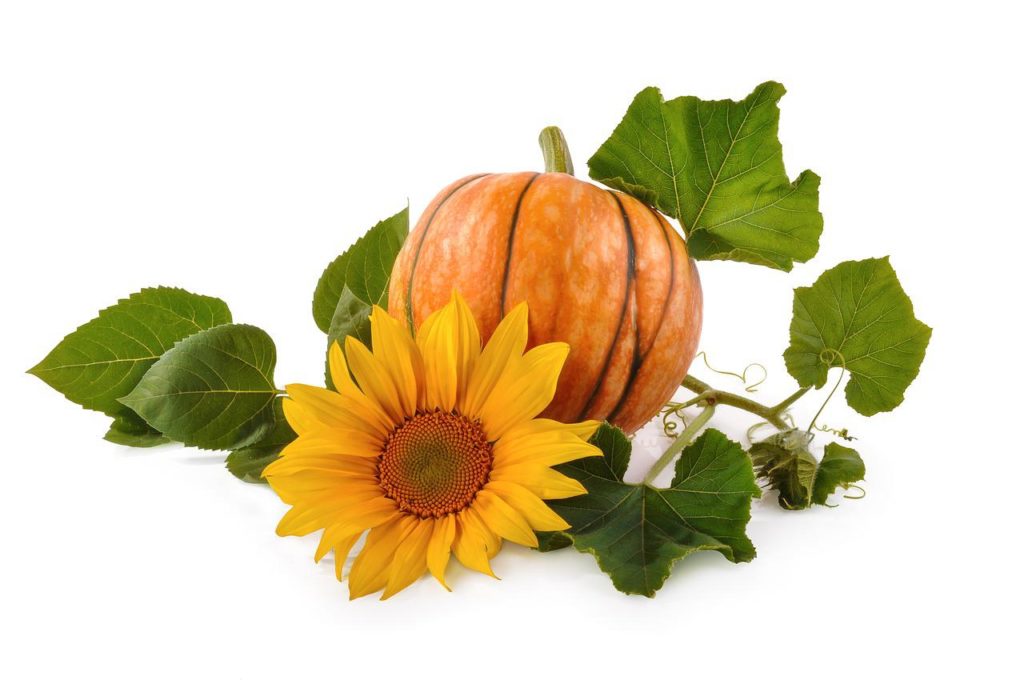
Notice that the coloring varies among the pumpkins.
Happy Pumpkin Spice Season Y’all
I knew that you could do it. I am sure that your painting will be the perfect addition to your decor this season. Now that you know how to paint a pumpkin, you are ready to paint a whole patch.
If you enjoyed this DIY post, please stop by again soon to check out upcoming DIY decor ideas for Fall. I’d love to hear from you, so please drop a comment with any questions.
Happy Painting,
Come back soon,
Vikki

One Comment