Making A Grapevine Wreath You’ll Want To Decorate
Creating nature-farmed wreaths is a way for people who care about the environment to create beautiful and unique eco-friendly wreaths. I believe that these organic wreaths make beautiful additions to home décor. I want to pass on the art of grapevine wreath making, and help you be able to create the perfect one for your home.
It was easy to find wild grapevines in Eastern Kentucky. Some of my best memories are of my siblings, cousins, and I stopping along the gravel road to pick and eat fall grapes. We’d get home with hands and clothes stained with grape juice, knowing full well that Mom was going to be upset.
Wild grapevines have long been a source of both food and crafting material in the Appalachian Mountains. Wild grapes make flavorful jelly, and the vines are used for creating wreaths and baskets.
I am going to show you how I craft my grapevines wreaths. If you love working with your hands and getting outdoors to find nature-farmed craft supplies, then I think you will love wreath making.
You Will Need:
- eye protection
- grapevines
- shape knife for cutting vines
- space to lay out vines and work
- long pants
Safety Matters
Creating Grapevine wreaths is not hard to do, but you may end up with a few splinters and scratches on your hands and arms as you work. Protective eye gear is recommended. Take care using the knife in tangled areas while harvesting vines. Also, it’s very wise to make sure that you know what a grapevine looks like. I have heard of people cutting poison ivy thinking that it was a grapevine. Avoid both poison ivy and poison oak, as both plants tend to grow in wooded areas along with grapevines.
When to Harvest Vines
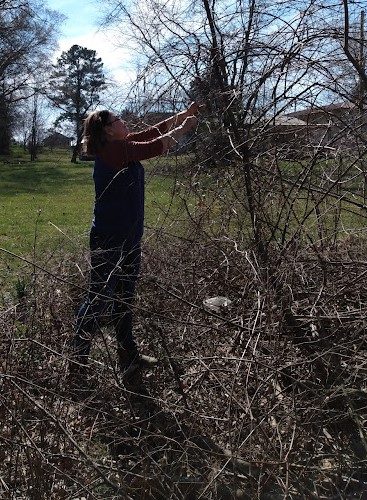
You can use domesticated grapevines to create wreaths. Here, I am harvesting wild vines from our property. Make sure that if you are harvesting from someone else’s land, that you have the landowner’s permission. Spring is a good time to harvest and work on your wreaths as the sap starts to return to the vines from the roots making them more pliable. Vines can be harvested in summer and fall as well. Although, you will have to deal with sap that will drip from the cut ends during the summer and until the sap has receded in the fall). You do not want to harvest in the dead of winter because the vines will be more brittle and harder to work. Working in early spring will also help you avoid finding ticks and snakes in your vine thicket.
Choosing Your Vines
When you begin gathering your vines, you are going to want to harvest 5 to 6 grape vines that are about the size of your thumb on one end, tapering down to about the size of your little finger. Size of the vines doesn’t matter so long as you can work them and does not have to be exact. The vines each need to be about 20 feet long. For a larger wreath, adjust the size and length of your vines. Make sure that you lay your vines separately as you stretch them out on the ground (this will keep them from becoming tangled).
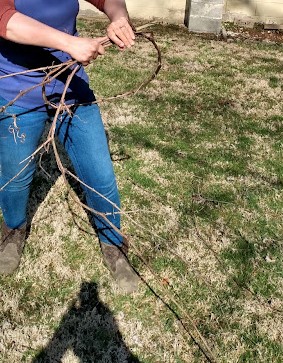
Once you have your vines cut and laid out, choose one to be the base for your wreath. Carefully shape one end of the vine into a hoop the diameter that you want your finished wreath to be. Hold the area near the end of your vine, and carefully pull the loose end through the hoop you’ve established.
In the photo below, I am tucking in loose pieces as I work. You can also see the angle that I position the vine in, to prepare pulling it through the hoop. Holding the hoop with my left hand, I move my right hand to the bottom of the wreath. I push the vine through the opening in the middle of the hoop (near the bottom of the wreath).
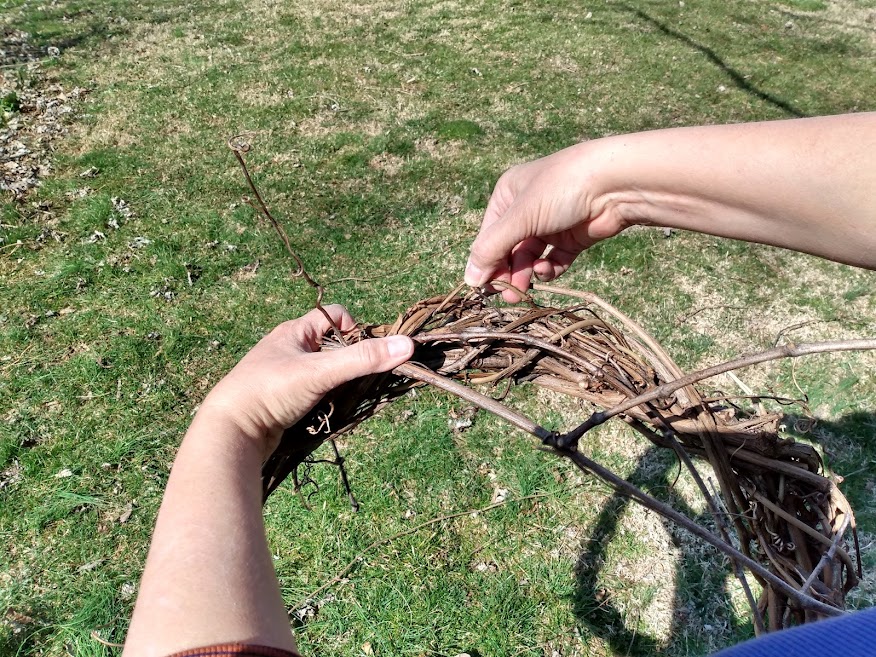
Make sure that when you began to pull your vine through that you do not try to make it bend too sharply or it will break.
As you pull it through, wrap the vine in and out as you move around the hoop. When you get close to the end of your first vine, look for an area where you can tuck the loose end inside your hoop.
Choose your next vine, take the end of this vine, move back about two inches from where you tucked the end of the last one, and insert the large end (the end where you cut it loose from the near the ground).

sticking out at the end and then secure it as I pull the vine in and out moving around the wreath.
Work your new vine into a space within your hoop. You then will continue working this vine exactly as you did the first. Add the rest of your vines, one at a time, until your wreath has reached the thickness that you want.

Wreathmaking is something that takes a bit of practice to get the wreath to hold together tightly. Try not to be discouraged if your first attempt at making a wreath is not perfect. It took practice on my part as well. After your wreath has cured for at least a week in a dry environment, you can begin decorating your wreath by adding a beautiful bow and anything else your heart desires.
If you have enjoyed learning about this Appalachian craft, you may want to check out the Foxfire book series. The series is a collection of works that teach many of the skills used by mountain folk for centuries. You can find them at amazon.com and most public libraries.
Join me in an upcoming post as I work to add embellishments to my grapevine wreath. Have fun creating your first grapevine wreath. If you do create a wreath, I’d love to see photos.
Thanks for stopping in,
Vikki