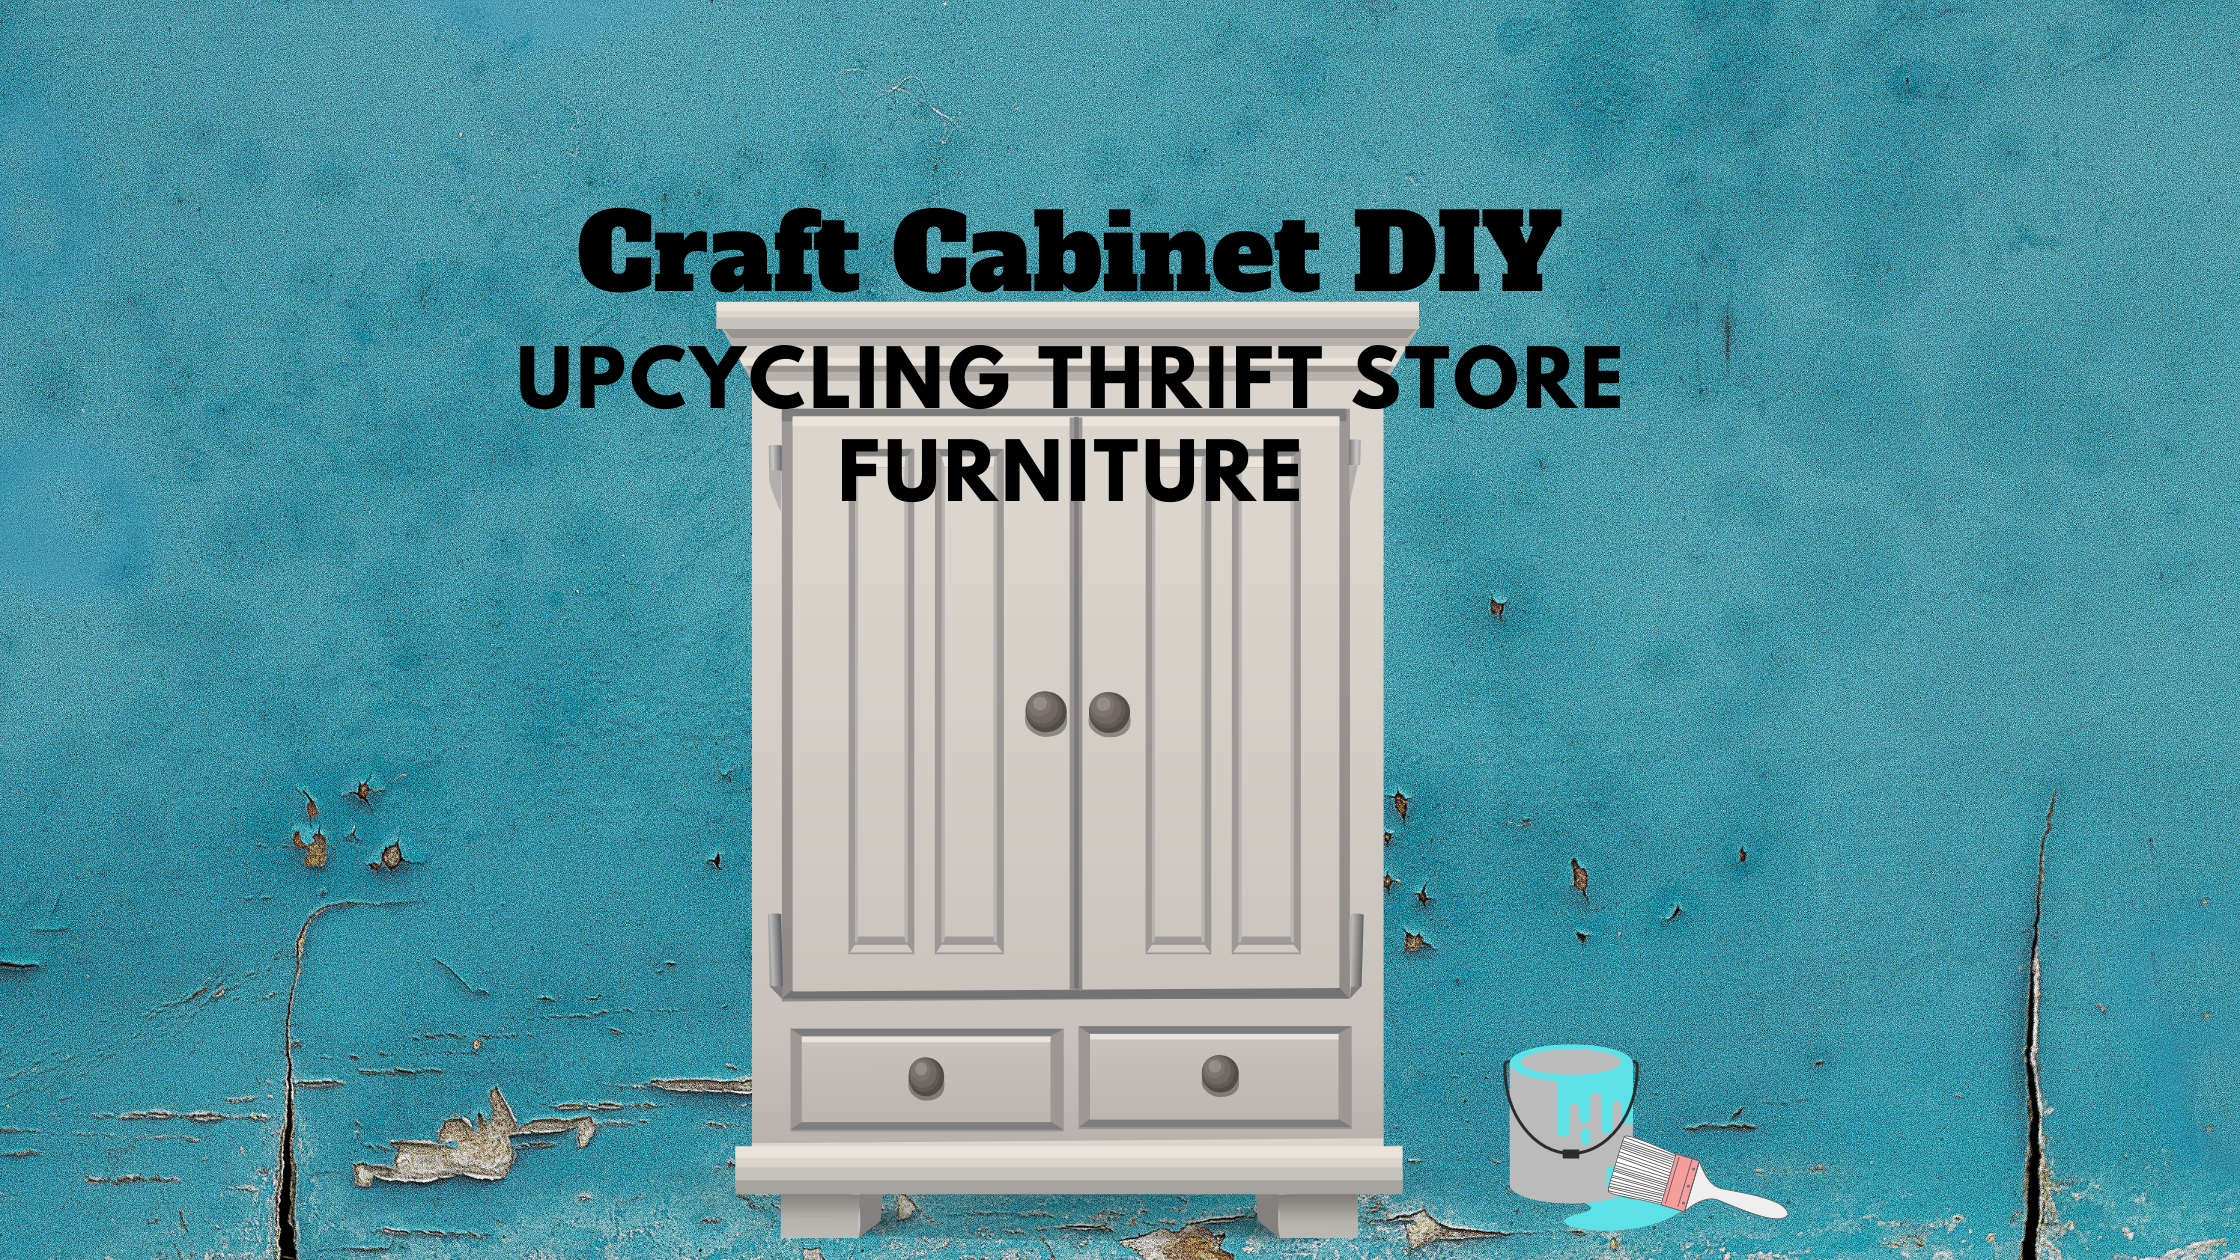
DIY Craft Cabinets on a Budget: Upcycling Thrift Store Furniture
I read a humorous post that made fun of crafters by saying that our first hobby is crafting, and our second hobby is buying more supplies than we could use up in a lifetime. Though it made me chuckle, I didn’t show it to my husband. I knew that he would agree with the comic, and who could blame him, our basement looks like a store room for a craft supply store. Short of intervention, my craft supplies were going nowhere. Still, even I knew that I had to find a way to organize my stockpile. The solution to my dilemma was an upcycling project using old furniture. In this DIY I will be creating craft cabinets on a budget by upcycling thrift store furniture.
I saw this amazing craft cabinet online. It was every crafter’s dream. It had a fold-out work table, storage compartments, and doors that closed to hide it all away. I looked at the price, and my dream was shattered. It was well beyond what I could afford to spend on storage. That left me pondering how I could create storage for craft supplies, create a workspace, and manage to do it for under $150. The answer was shopping for thrift store furniture and upcycling it into a crafting oasis.
My Goals
The first thing I did was sit down and list all the things I needed my craft center to hold, which was a lot. Short of buying a shed for the yard, I was going to have to work some upcycling magic. I needed storage for my machines. I have a sewing machine, a Cricut, a heat press, and a sublimation printer. Each of those would need a home that I could access easily. Sliding shelves that allowed easy use of the machines would be ideal.
I would also need storage for vinyl, ribbon, paint brushes, paint, stencils, material, and basic supplies such as glue guns. In short, I was going to need storage that provided both deep drawers and shelving. I also wanted a flat surface to work on. The problem was that we do not have a truck. Anything that we bought had to fit inside my small SUV.
Obstacles & Blessings
The Obstacles
Once I had pinned down what I needed in terms of space and size, I started visiting local thrift stores and online markets. I found several possible cabinet units that would work. Several of those were either out of town or out of our price range. One set that I simply fell in love with sold before I could contact a friend to get help with transporting them. I wasn’t in a rush; I knew that eventually what I needed would come along.
After several visits to my favorite shop, the Hosparus Thrift Store, I found the perfect pieces. Luck was on my side because I found a huge dresser that has 9 drawers of differing sizes. It has a matching armoire that also has two large drawers and shelving at the top for a TV and video player. And, I thought they would fit easily inside my SUV. Notice I said “I thought” because the armoire ended up being too large (by about half an inch).
The Blessing
The day that I bought the furniture and we returned to load it and bring it home, there just happened to be a kind-hearted gentleman there that helped my husband load the armoire. When he saw that it was too big to fit inside the SUV, he offered to bring it home for us. We were so blessed to meet Marc and Regina that day. I truly believe God put us on the same path. Regina and I are both avid crafters. It was a true blessing meeting people willing to help strangers, and it was an even greater blessing that I met a kindred spirit and made a new friend!
Giving the Furniture a Makeover
Starting to work on the furniture was a bit intimidating. I had never refinished pieces that large. I started by cleaning the dresser with a mixture of vinegar and water. After that, I rinsed it well with a lint-free cloth dampened with water.
The dresser has a decorative edge which meant that I had to sand those areas by hand. I used a rotary sander on the smooth surfaces of the drawers and sides of the unit. I worked on sanding it for over two days when I had the time. For instructions on scuff sanding visit How to Scuff Sand.
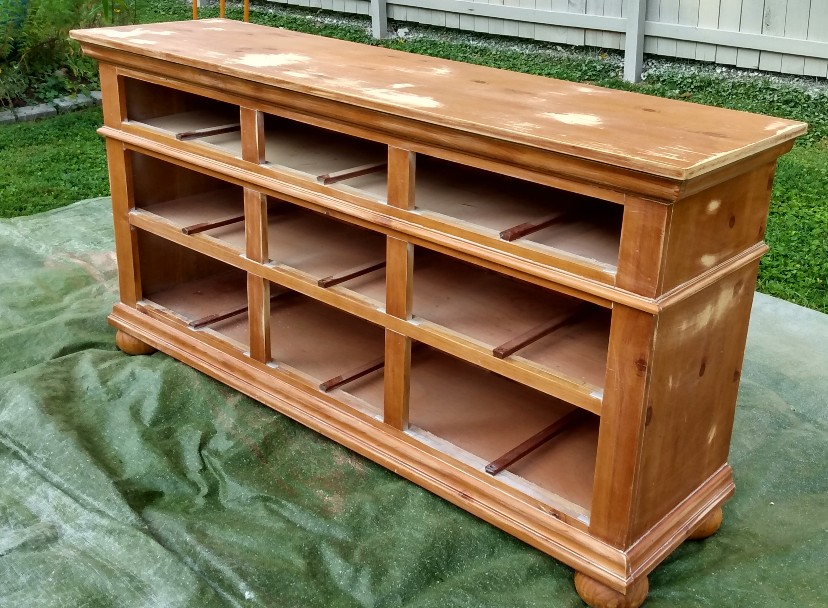
The dresser is one of two pieces that I am upcycling to use as a craft center.
After sanding, I carefully cleaned the surface again to remove any dust. Using a sprayer, I painted the dresser with washable latex paint. I applied a total of 4 layers of paint, letting it dry between layers. This video by Ray of Sunlight is a good tutorial on using a sprayer. You can find others on YouTube as well.
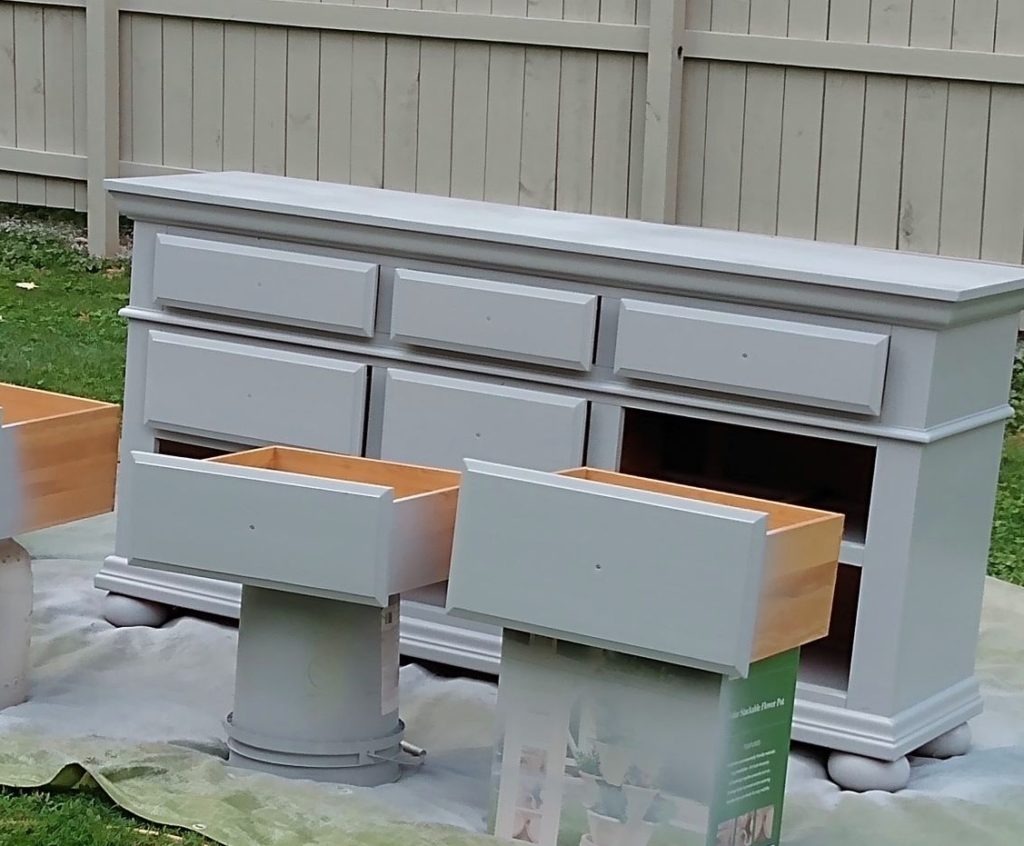
The paint was thinned slightly with water before use.
Finished Crafting Oasis: Part 1
Because of the high heat index and lack of air conditioning in the garage, I worked on sanding the dresser over a two-day period, about four hours total. Then I needed a third day to paint it. I am pleased with the way it turned out, but not thrilled. The electric sander left marks in places. I know that it is from me trying to get deep scratches out of the dresser top. Next time: better lighting and less sanding! If you are not an experienced sander, I’d subject that you practice on something you don’t care about before tackling your actual project.
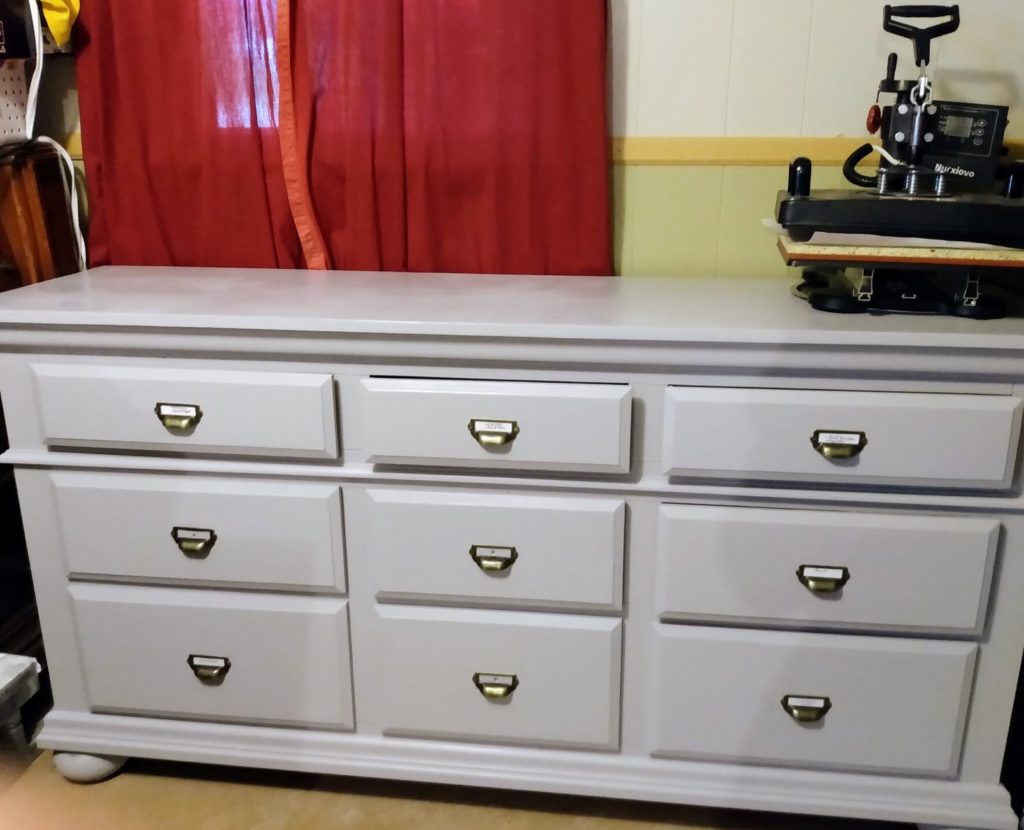
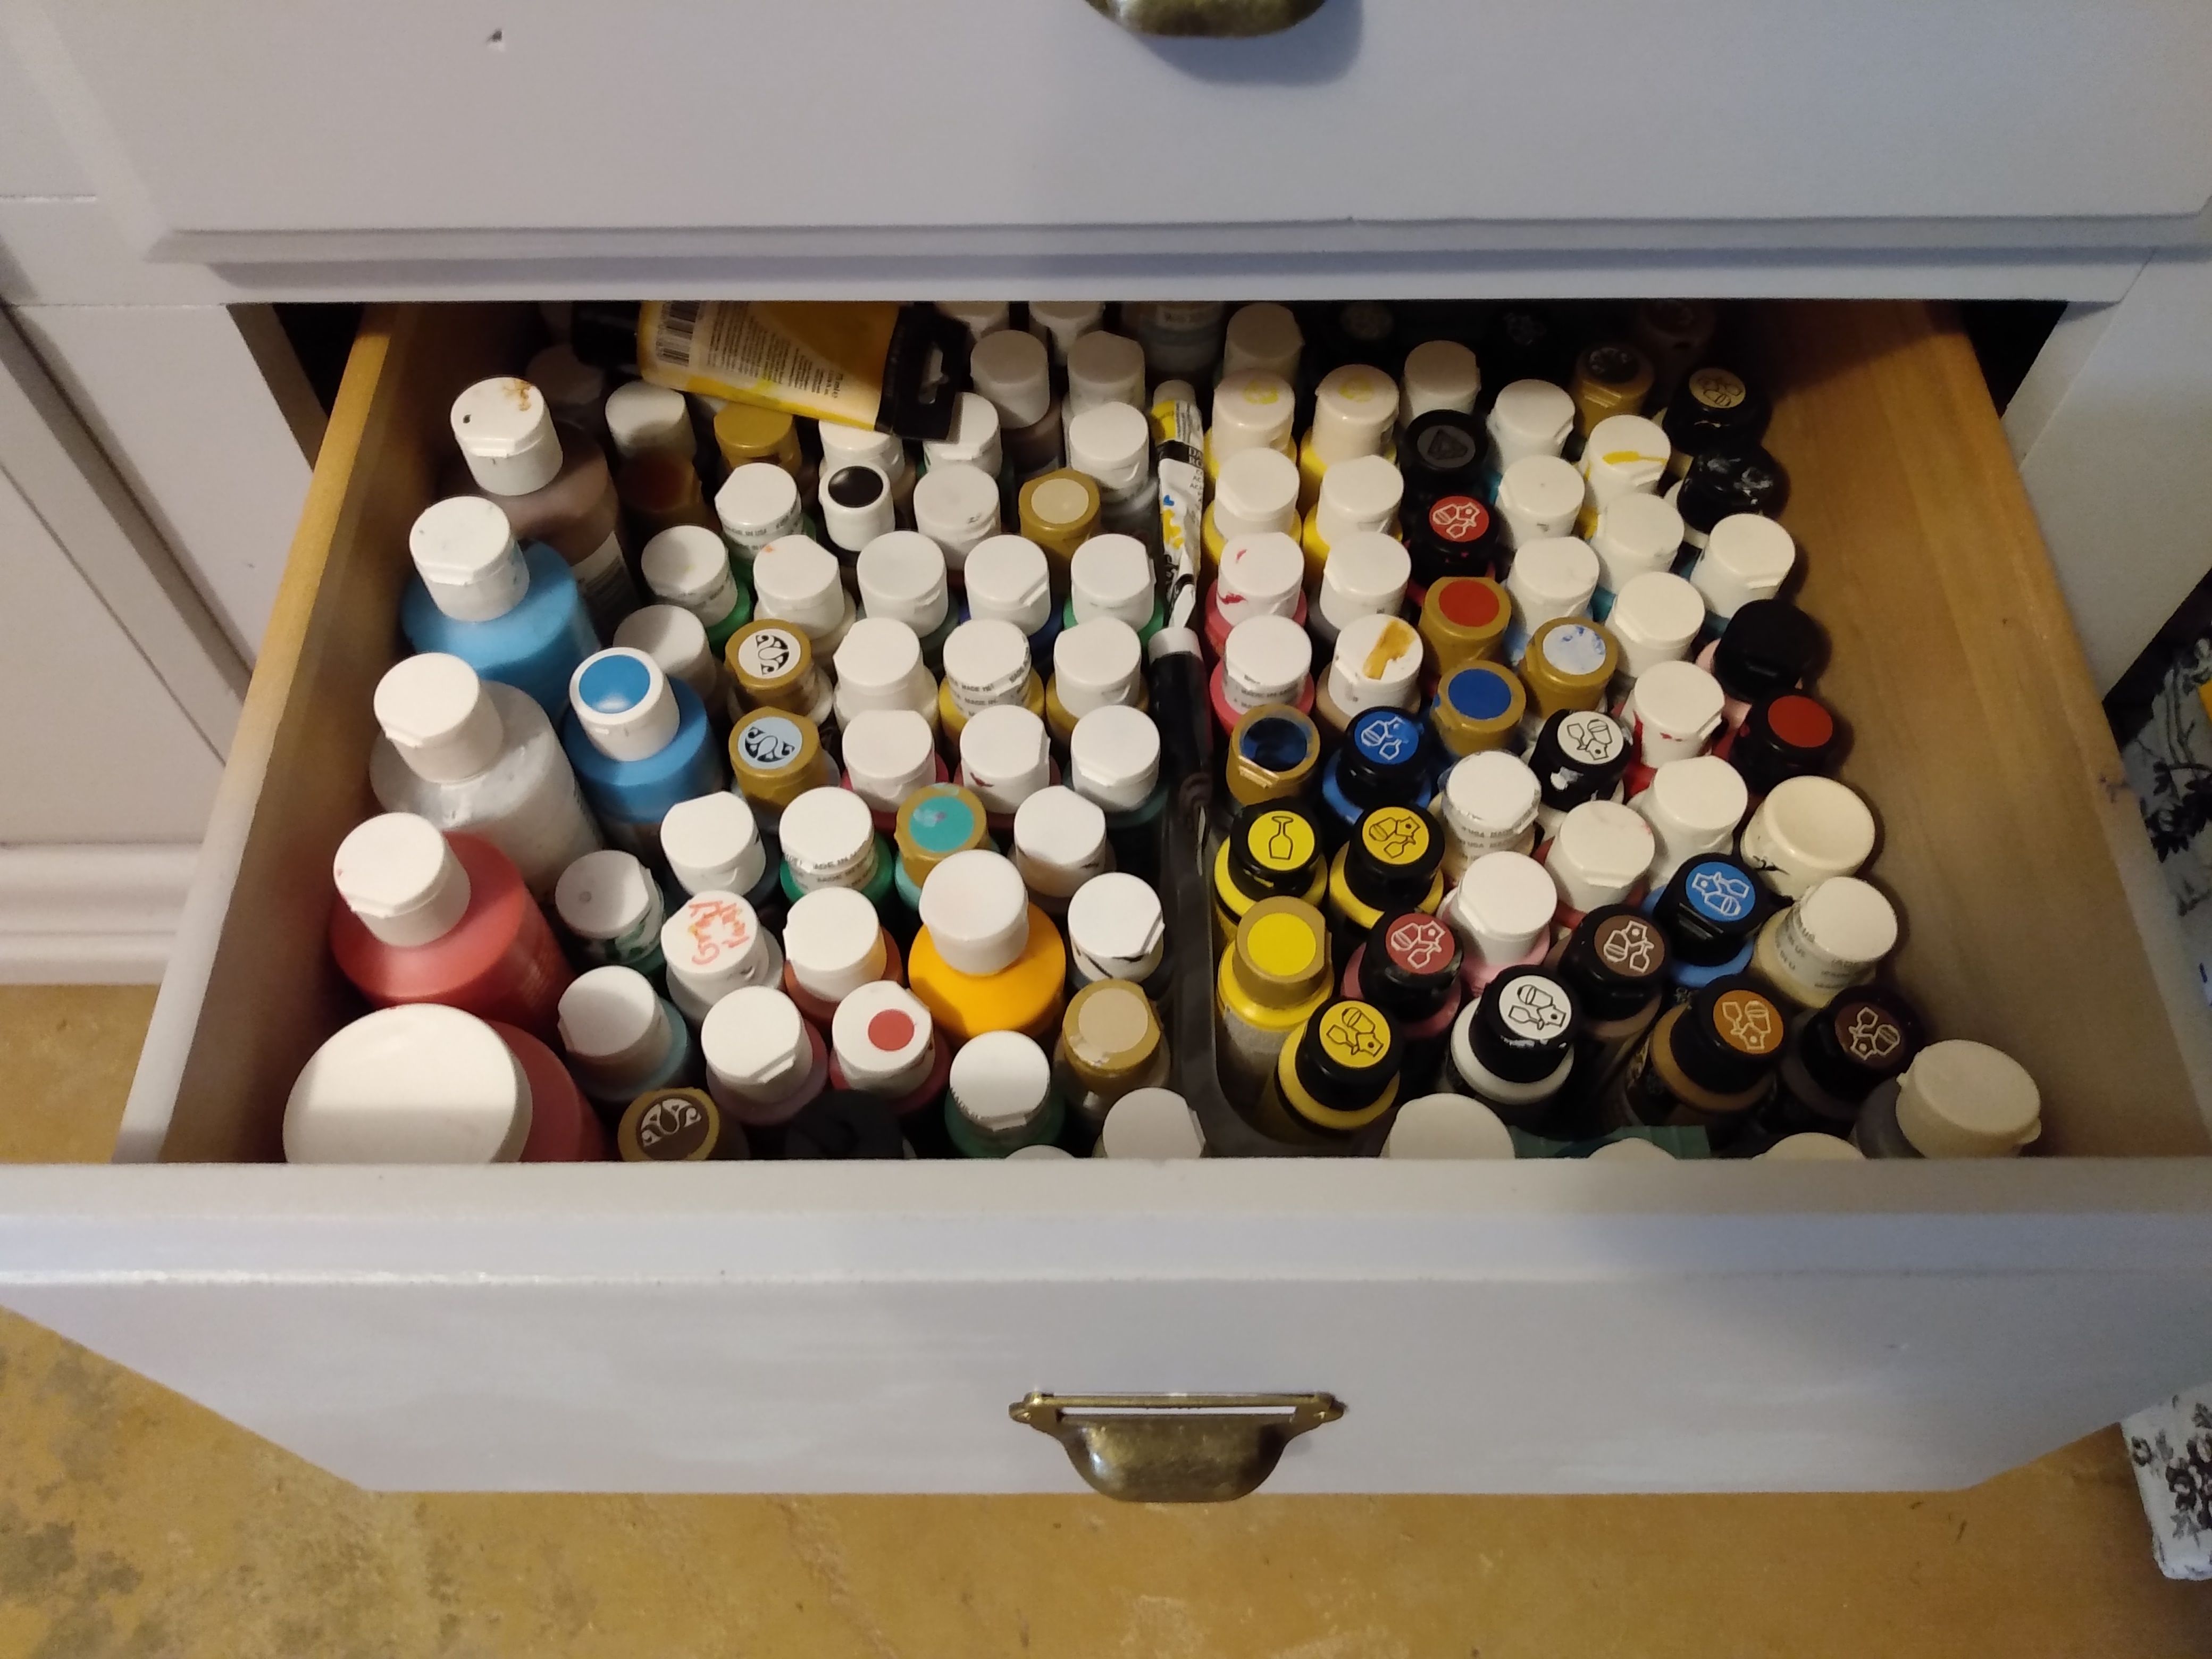
I thought I could get all of my paint in one drawer. Boy was I wrong! It filled up two.
Next Up Part 2: Painting the Armoire
Now that the dresser is in place in one corner of the basement, I am ready to begin work on the matching armoire. I intend to use a product on the armoire that is supposed to eliminate the need for sanding. Hopefully, this experiment works because I am running out of time to get this project completed (I am about to become a grandma and will be spending time will my daughter’s family in Texas).
Total Cost of Project to Date
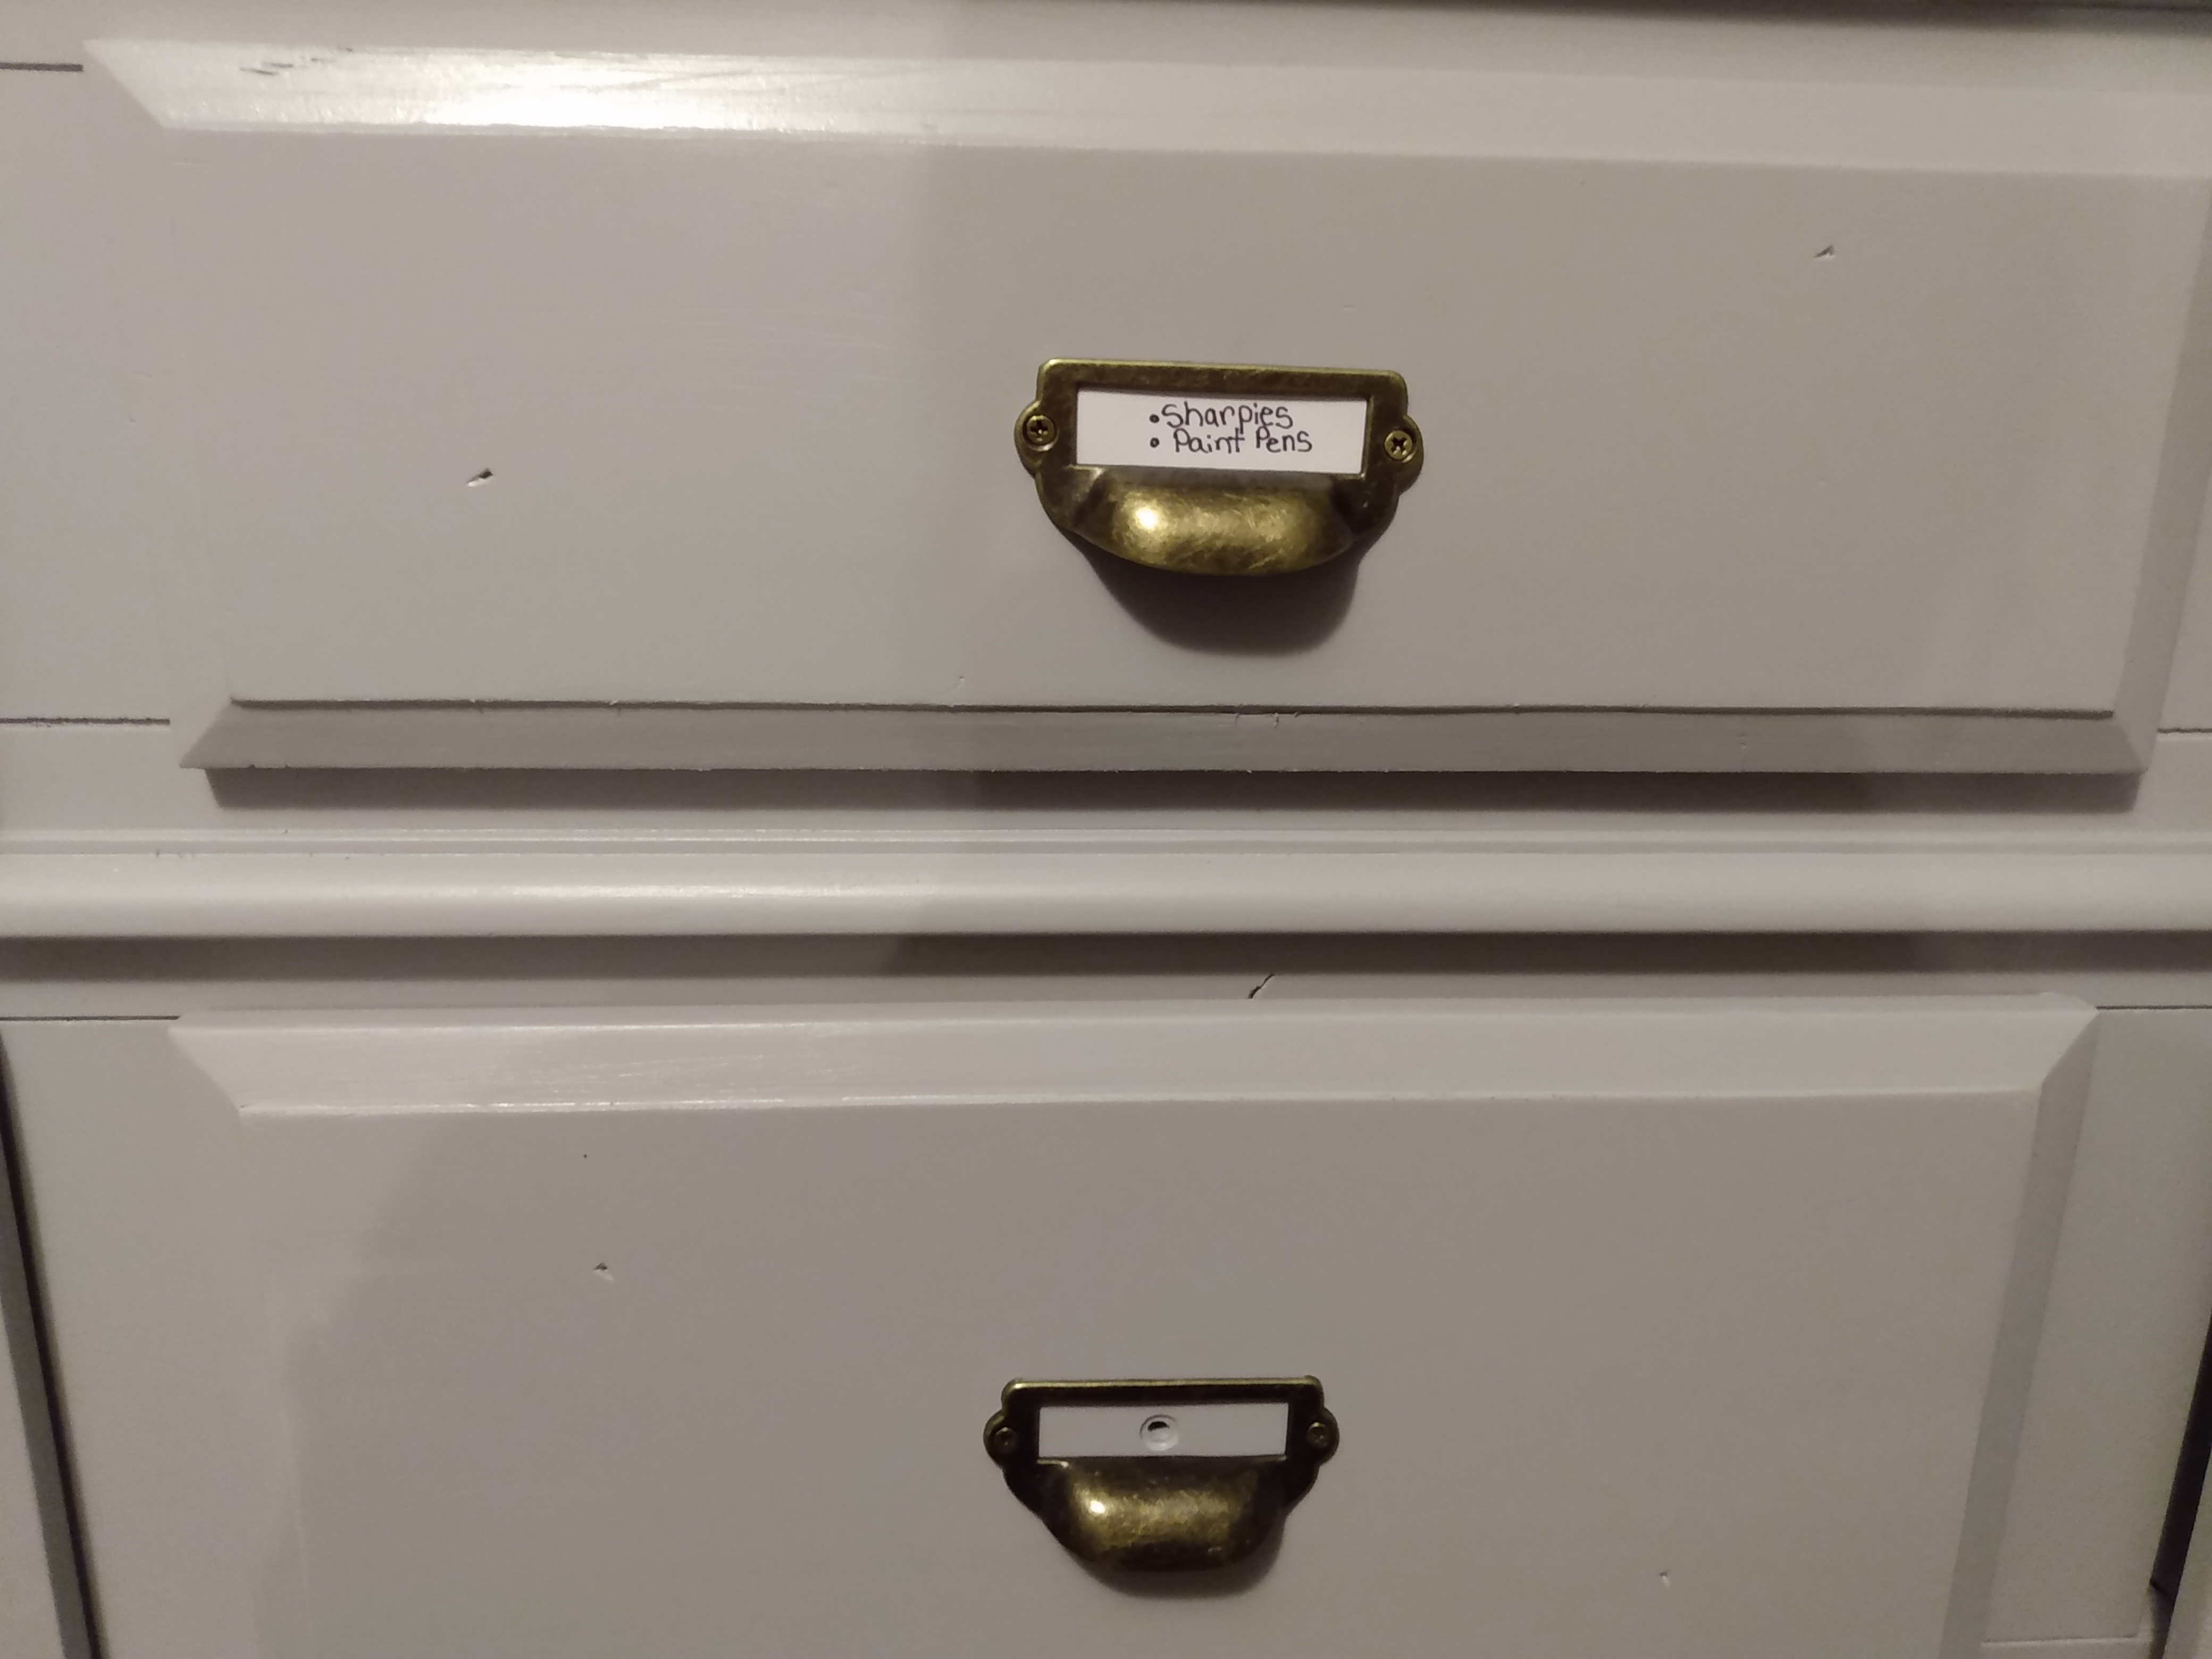
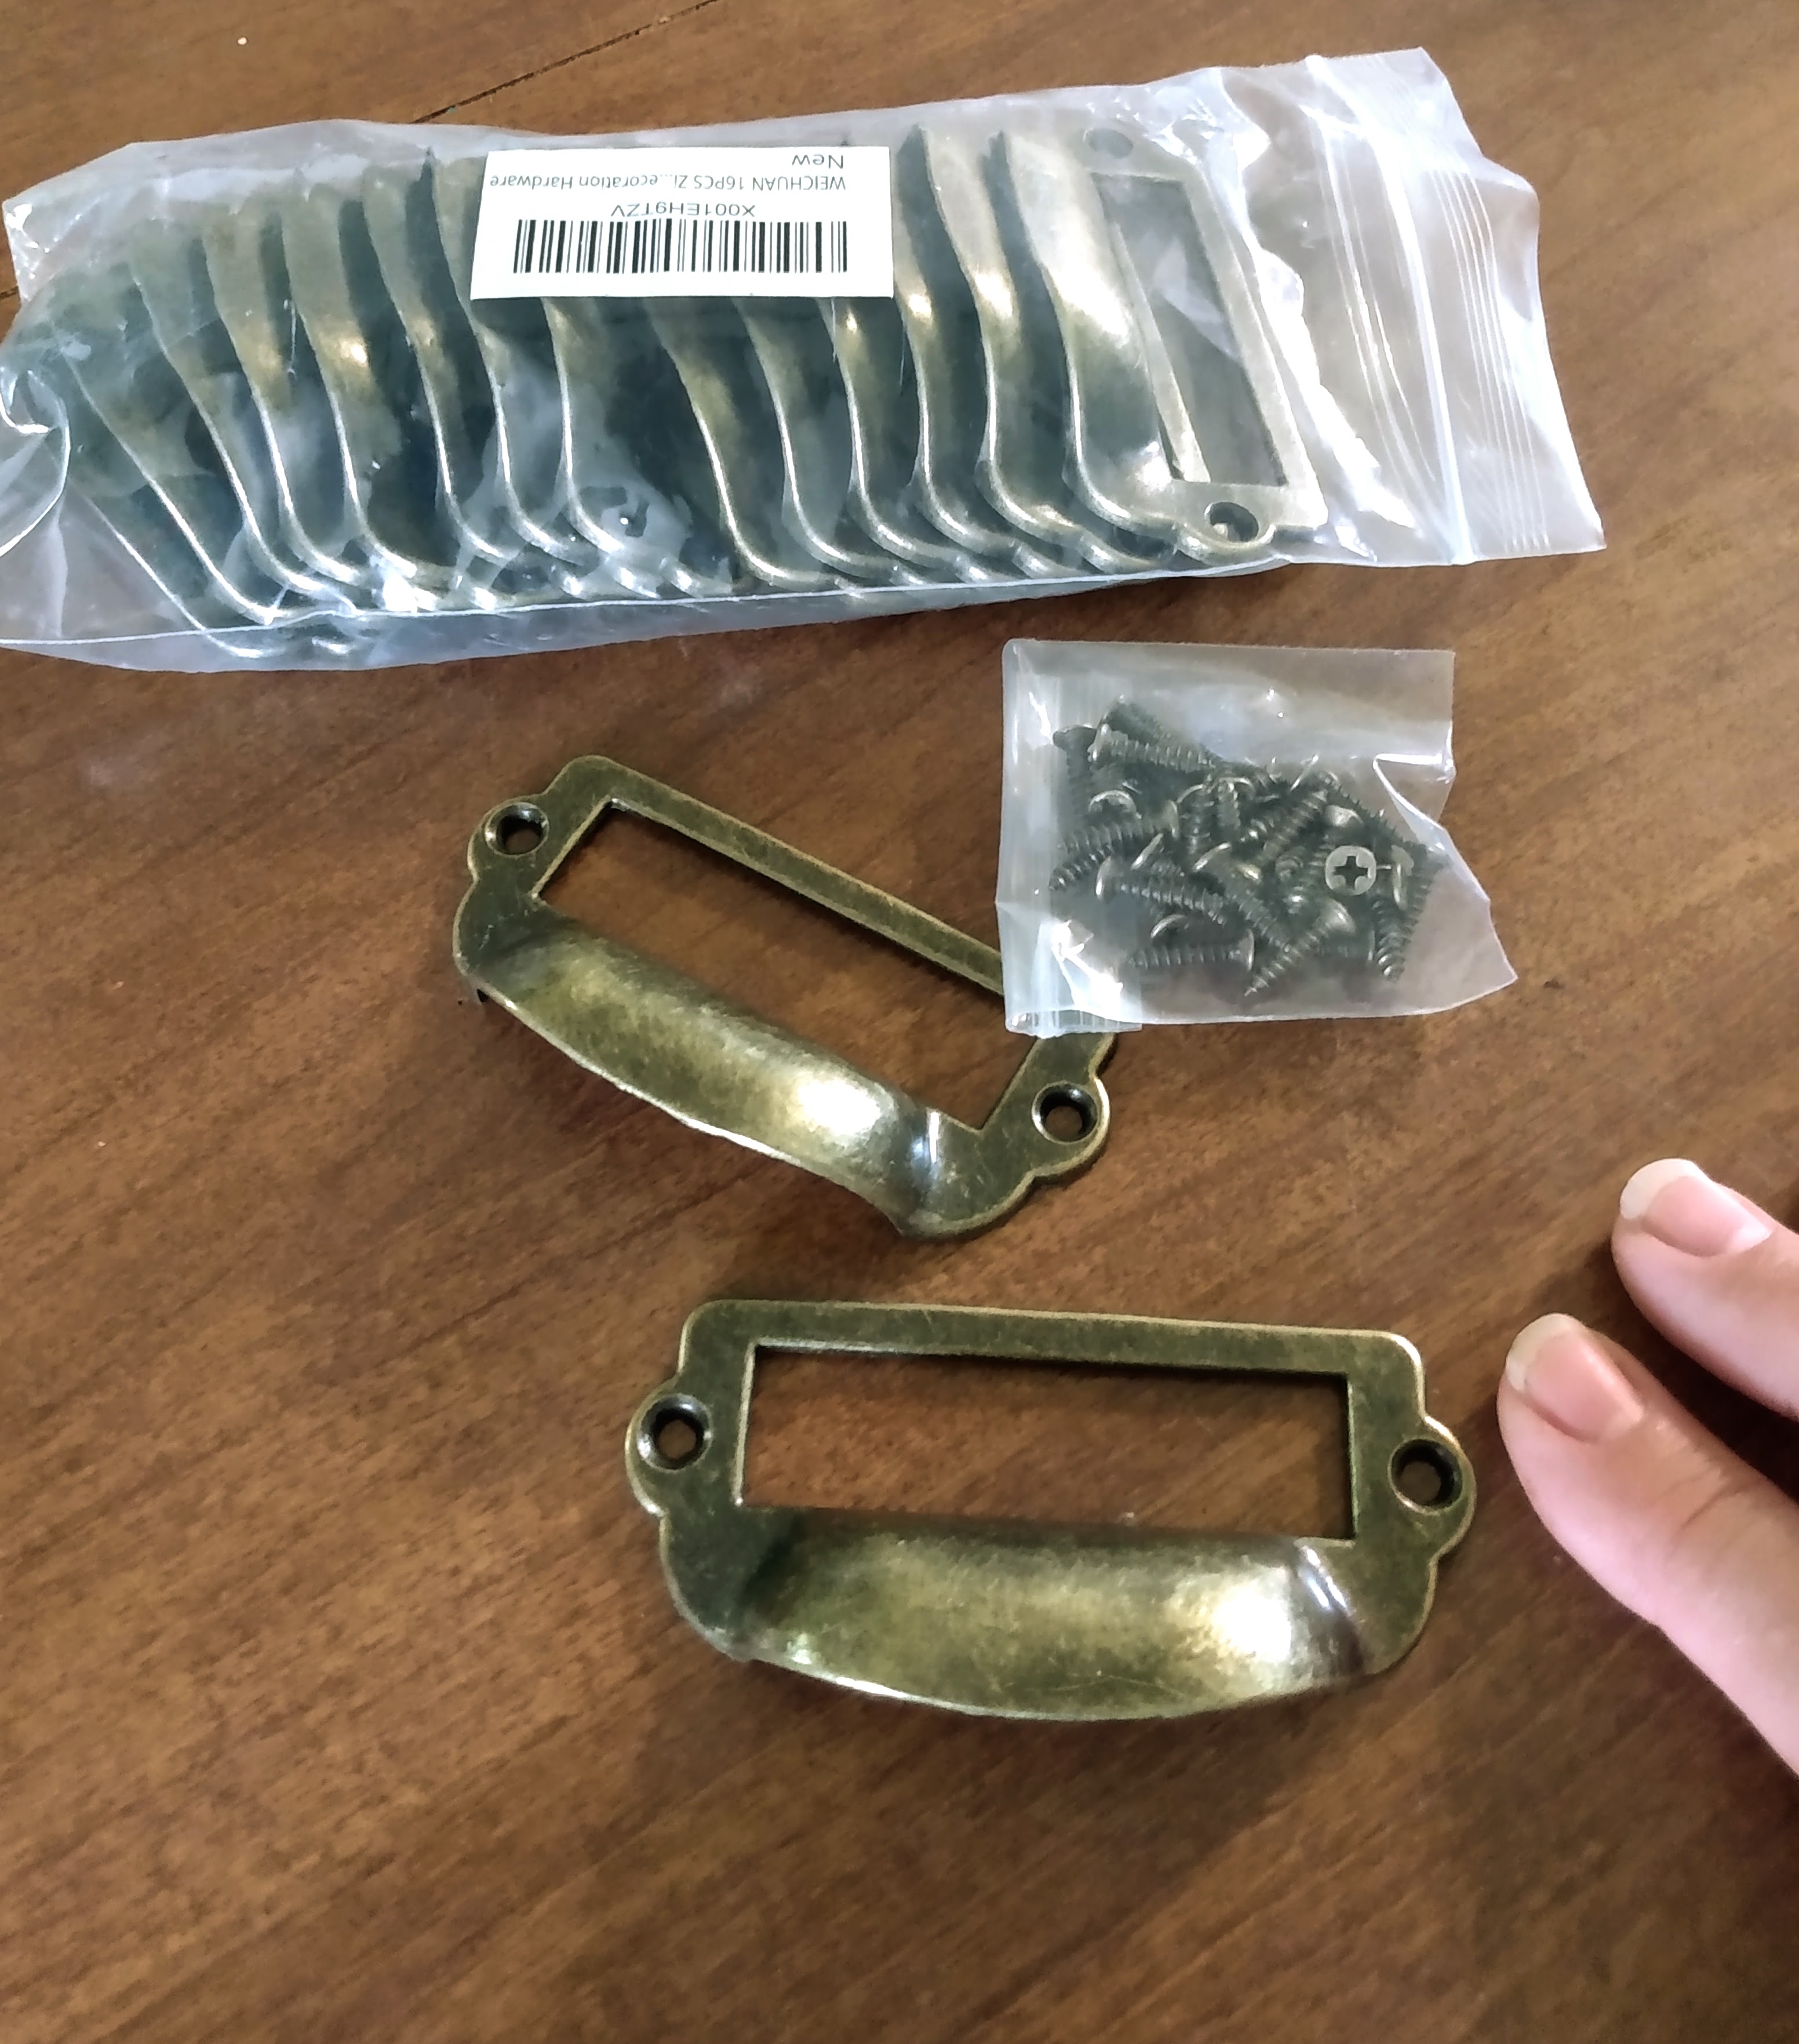
I ordered apothecary-style drawer pulls from Amazon: The price is $15 for 16 drawer pulls. The pulls are very sturdy and are a great product for the price.
I used paint from Lowes ($25 for one gallon of paint). It was marked down for clearance due to being mistinted. Finding the paint on sale kept me under budget for this project.
Furniture: Luck was again on my side. I found a matching dresser and armoire at a local Hospuras Thrift Store for $75 for both pieces.
Sandpaper: I spent $6 on sandpaper at Harbor Freight.
I had an electronic sander and paint sprayer. The sander cost under $50 at Lowes and the paint sprayer ran us about $180. If you don’t have these gadgets, you can sand and paint the old-fashioned way. This was the first item that I refinished using power tools. It does go faster, but I think that the end result of sanding by hand is much better. The paint sprayer on the other hand is amazing!!
Total cost: $121! Not bad for storage for a craft area. I will post photos after I refinish the armoire, and when I finally get the craft area all set up and camera worthy. Depending on when my grandson decides to arrive, it may be a while before this adventure is complete.
Are you Dreaming of Creating Your Own DIY Craft Cabinets?
It takes a creative mind to be a crafter or artist. The problem is that our brains see potential in every item we encounter. My friend likes to say ” A creative mind makes for a messy house”. Needing to organize my mess was the inspiration for this project.
What are your needs as an artist or crafter? Do you have a dream storage unit in mind? Is budget a top consideration? Then maybe putting that creative mind to use and starting a DIY craft cabinet upcycling project is the answer for you as well. Dream big, create bigger!
If you are interested in thrift stores and frugal living, you may want to check out my post Living Big on A Small Income: Thrifty Shopping Tips.
Thanks for stopping in for a visit. If you enjoyed this post, please subscribe and share. Stop back soon, and let me know about your great upcycling projects.
Until then, be blessed!
Vikki