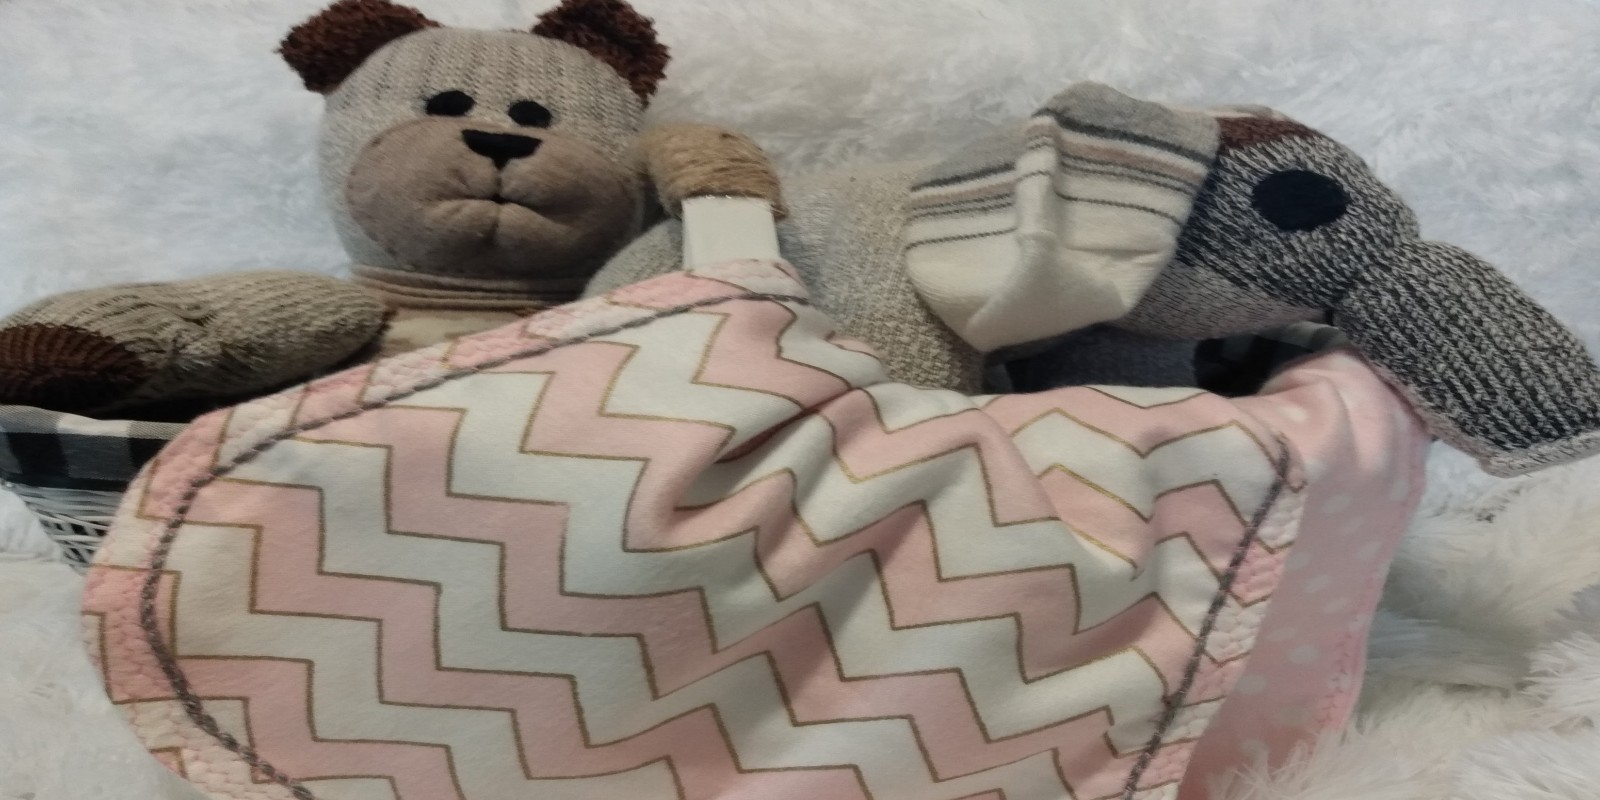
Burp-Cloth Pattern for Beginners
Welcome to BEEVEE Creative Crafts. I love creating handmade gifts to give at baby showers. Every new mother loves to have unique one-of-a-kind items for their special baby. Hand crafted gifts are so special, it is like you are giving a part of yourself with the gift. I created an easy to make burp-cloth and just had to share this sweet but simple project. It is suitable for beginners, and those advanced in sewing as well. I would recommend that you read through the instructions completely before you begin.
Supplies You Will Need:
• 1/2 Yard of Fabric
• Thread in a matching color
• Scissors
• Pins
• Fabric marking pencils (two colors)
• Masking tape
• Needles, or sewing machine
• Pattern (provided)
• Iron
Time to complete:
About 40 minutes from start to finish
1. Choose a Fabric
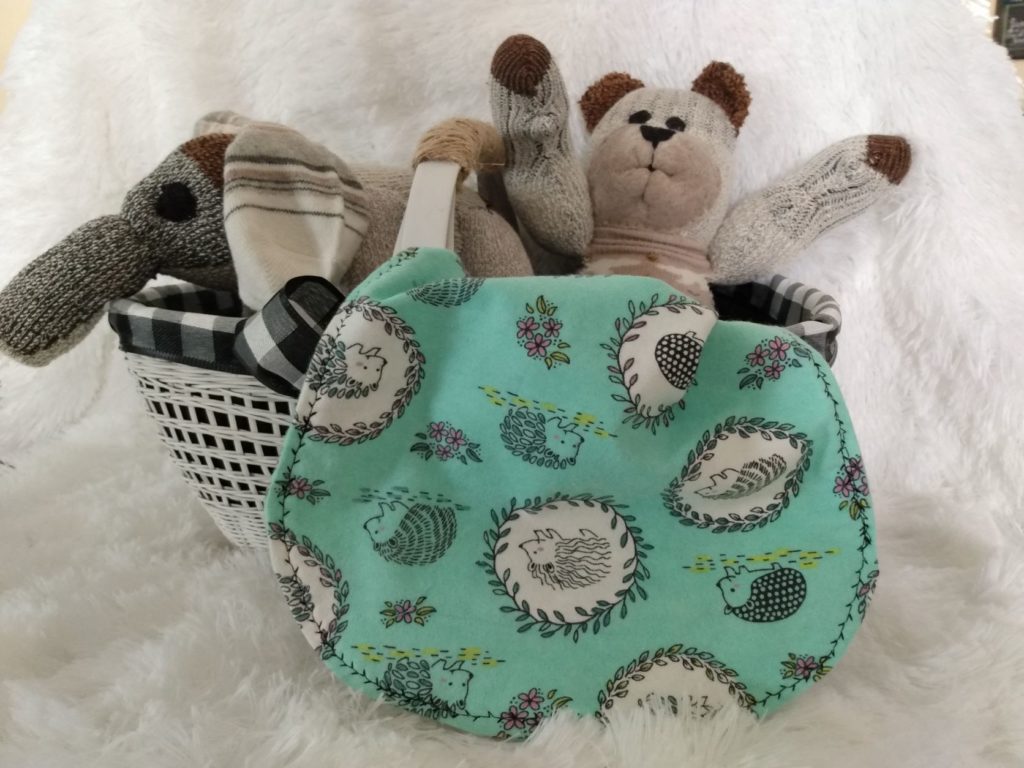
Choose a fabric that is soft and absorbent. I used a soft flannel (soft brushed cotton) in a colored print. Terry cloth would also work well. You may want to go with a white fabric that is bleachable.
2. Create Your Pattern
First, print 2 copies of the pattern that I have provided, and tape them together (on the fold line), or print 1 copy and create a pattern using newspaper. Fold a piece of newspaper in half, pinning the burp-cloth pattern in place to where the straight side of the pattern lines up with your fold on your newspaper. Do not cut on the fold. Cut the rest of the way around the pattern. When you remove your pins and open your newspaper, your newspaper pattern should look like a large peanut shape pattern.
3. Cut Out the Pieces
Next, lay your material with the right-sides facing. Pin your pattern in place. Make sure that if you are using printed fabric, make sure that the two pieces of material are oriented in the same direction.
A. Trace around the pattern with a fabric-marking pencil. This 1st line will act as your guide for sewing.

B. Using a second fabric marking pencil in a different color, moving out about 1/4 inch out away from the first line, draw another line completely around your pattern to create a seam allowance. This will be the line that you cut along the material for your burp cloth.
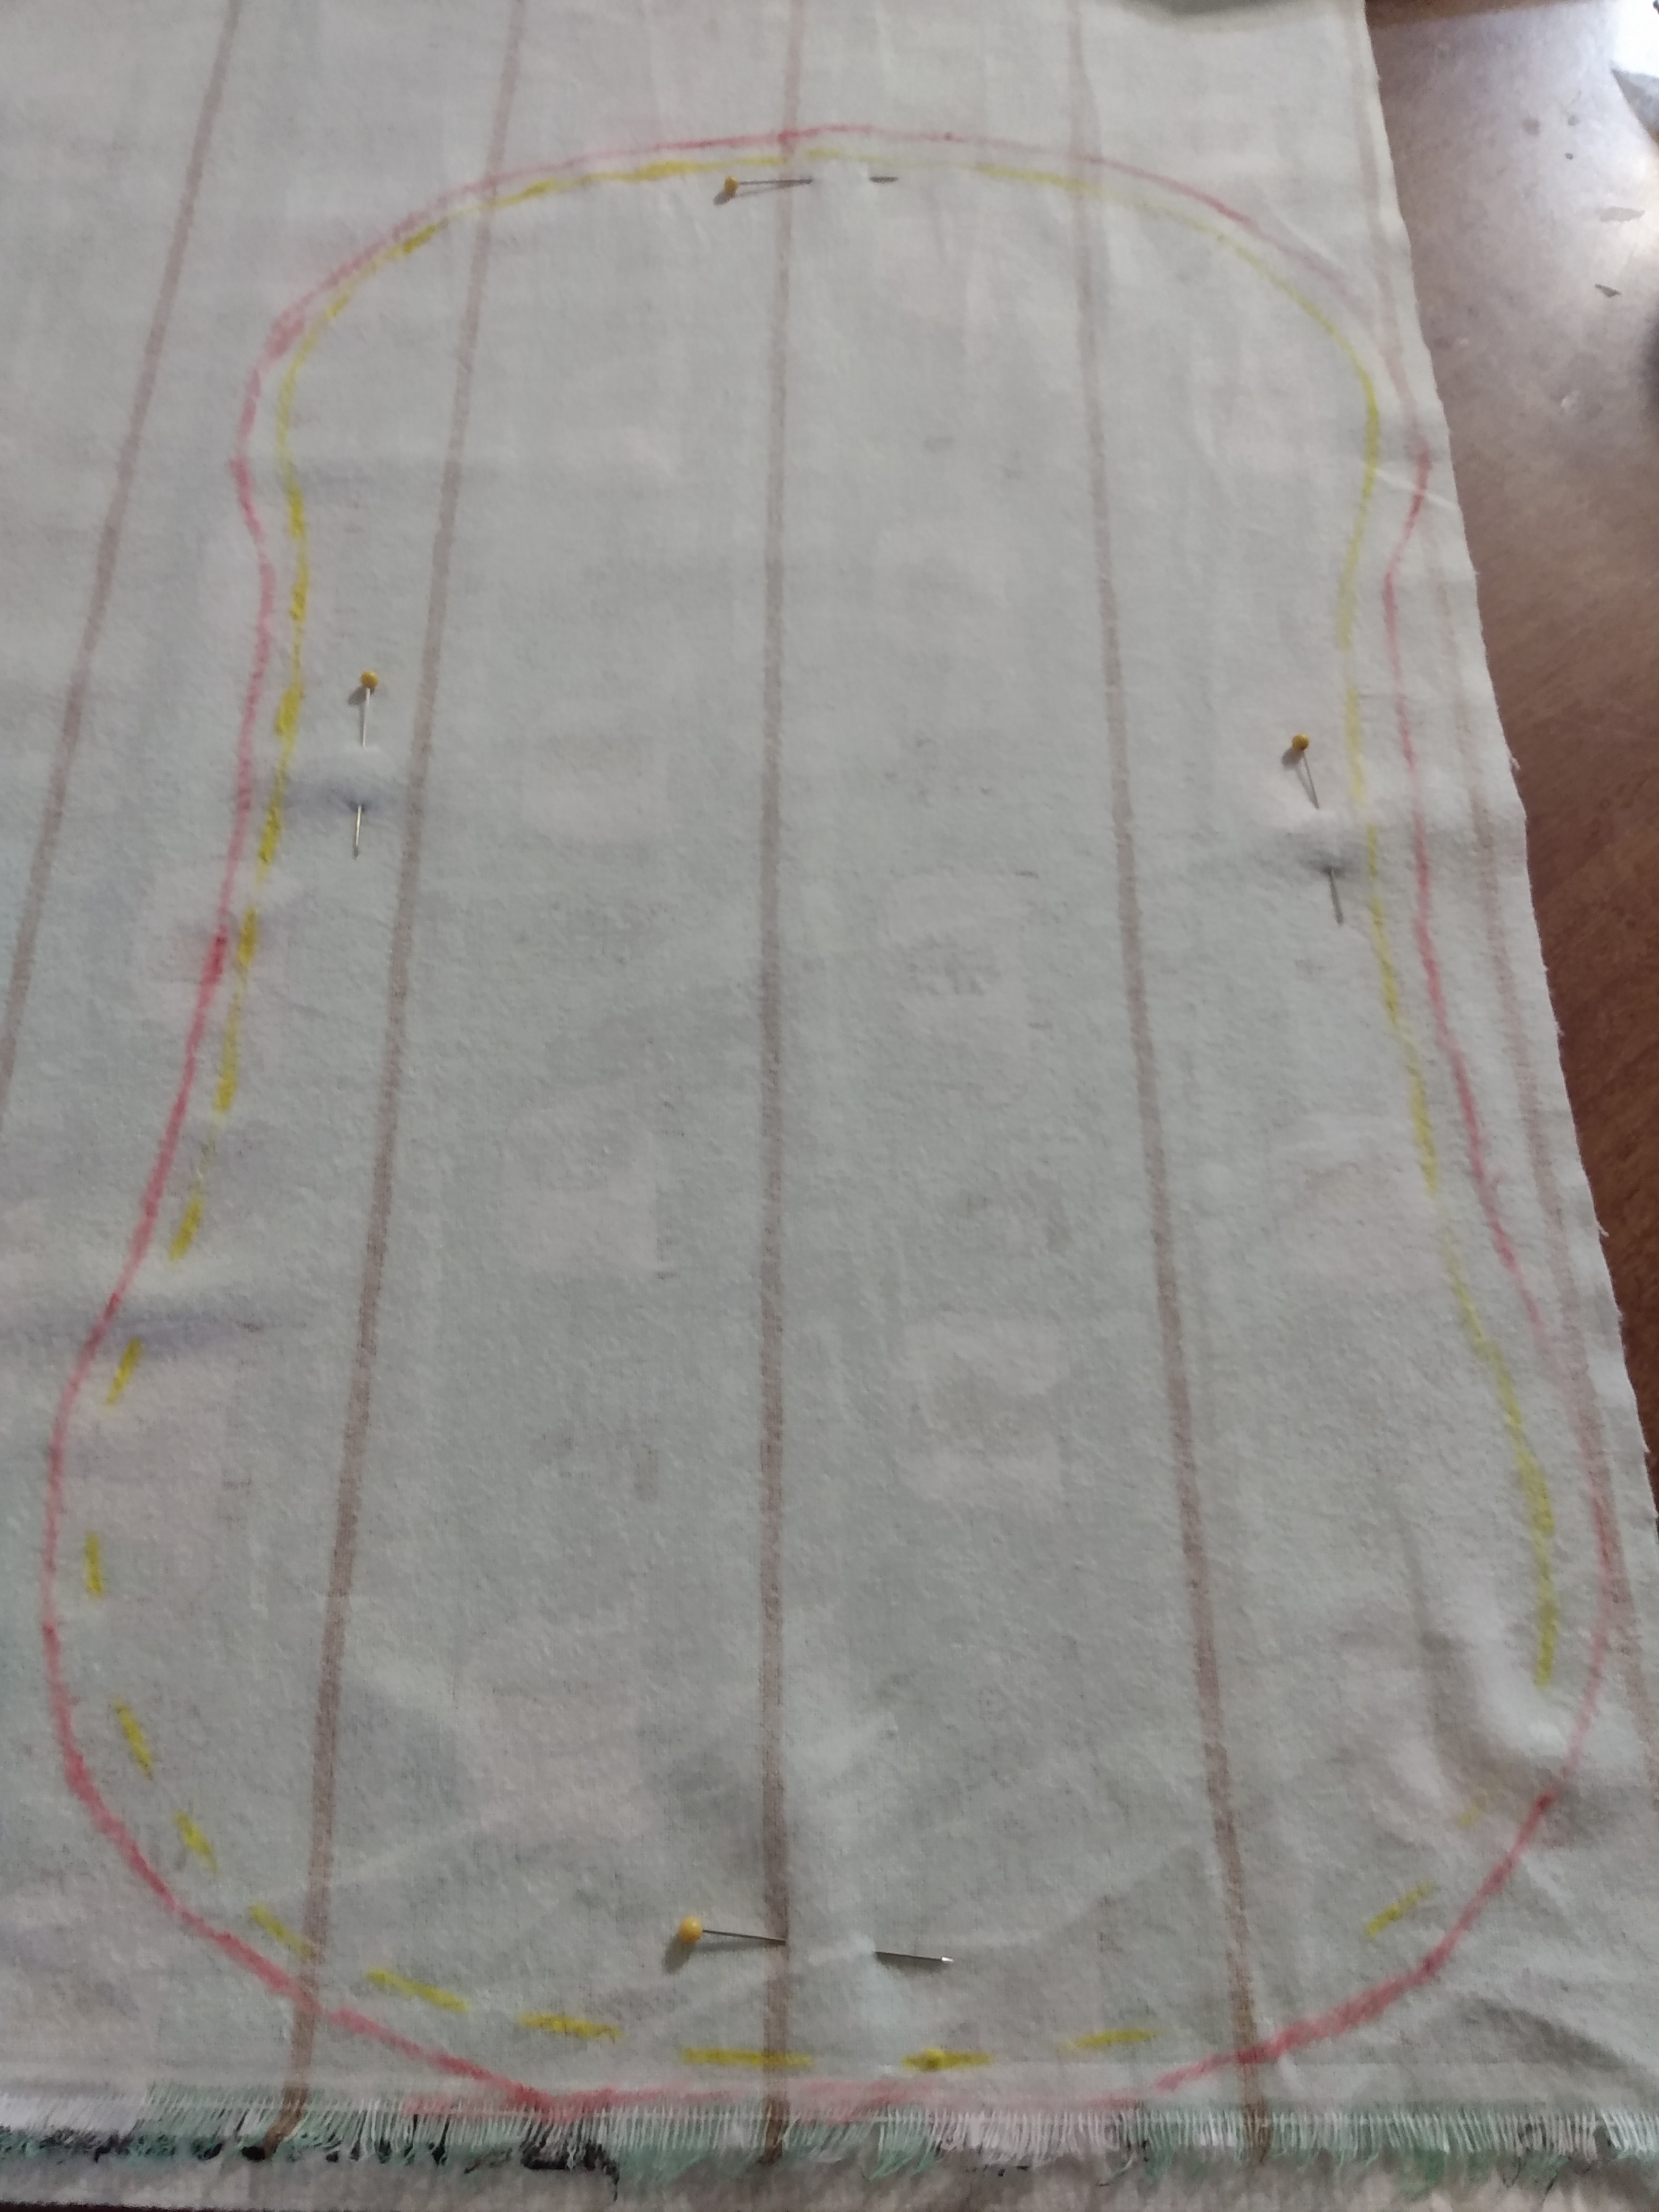
C. Next, carefully make small “snips” around the curved edges of the burp cloth. Be careful not to cut your sew-line (the yellow line in the photo).
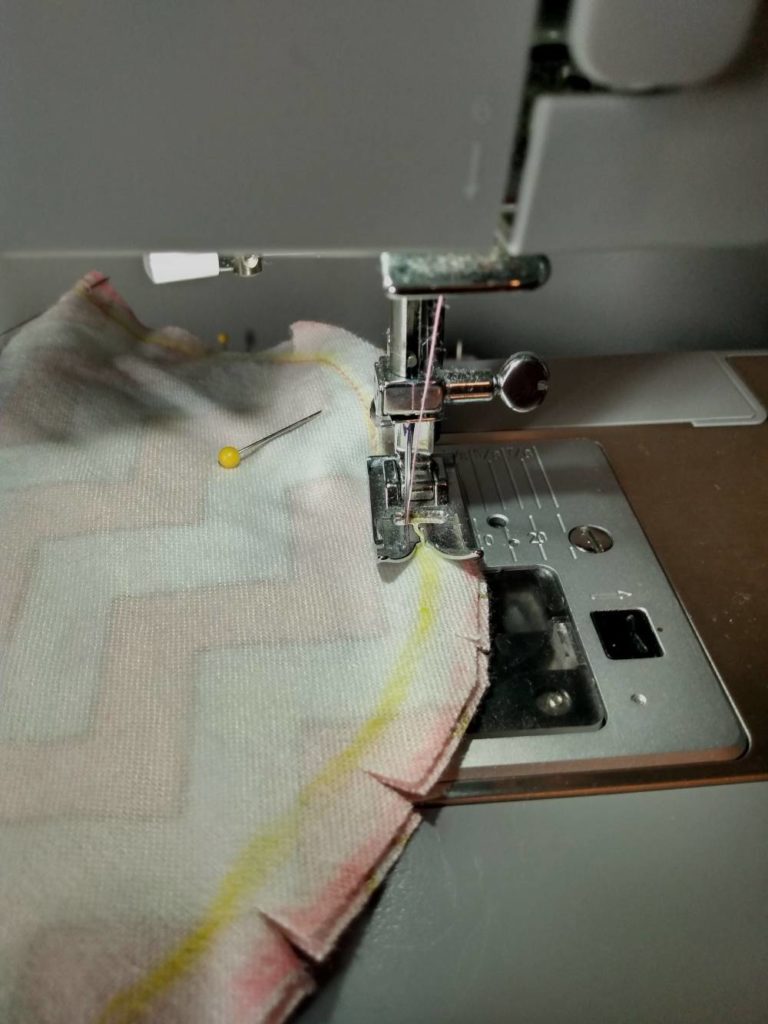
D. Cut a 5-inch piece of masking tape, and place this on one side of your burp cloth. I placed a pin on each end of the tape as well (If you are an experienced sewer, you can make your opening a bit smaller if you choose).

4. Sew your pieces together
Starting at one side of your masking tape, sew along the inside pencil marking (I used yellow) all the way around your burp cloth until you again reach the masking tape. DO NOT SEW THE TAPED AREA, this open space will be used to turn the burp cloth after sewing.
5. Turn The Bib Right-Side Out
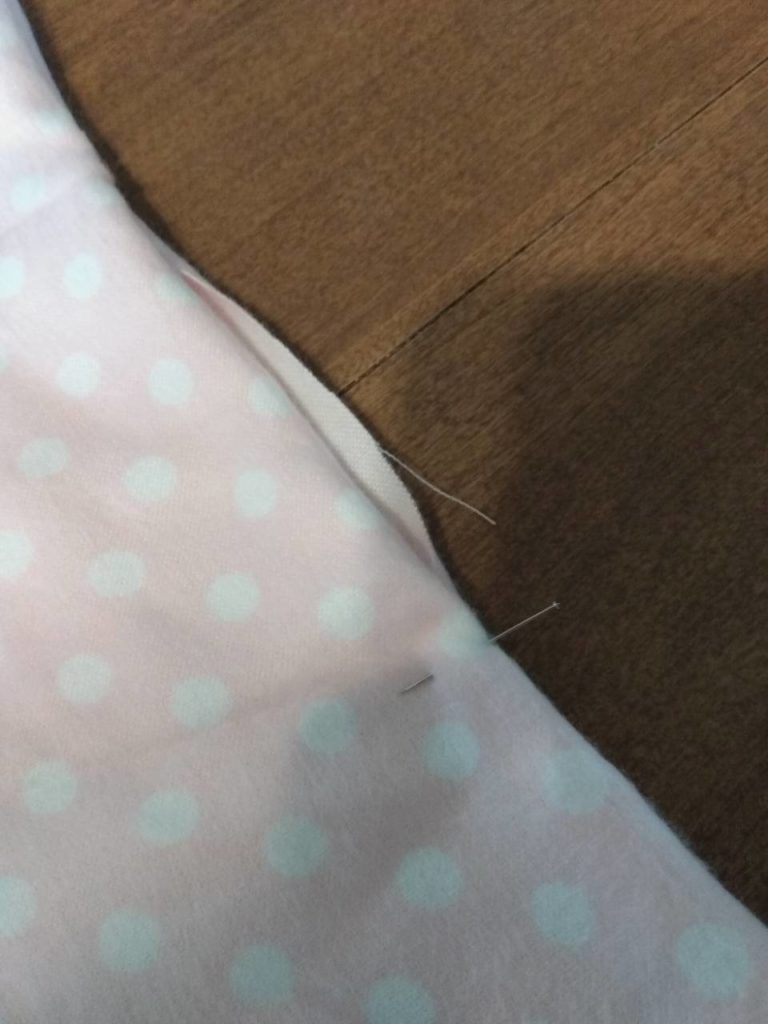
Once you have finished sewing the two pieces of the burp cloth together, remove your pins (making sure to get them all) and the masking tape. Gently turn the burp-cloth right-side out. Take care to push the edges outward as you work so that no puckering occurs. Once your burp bib is turned right-side out, smooth the material out.
Turn under the edges of the open space, and pin the pieces as you work. Heat your iron to the proper setting for your material, and press the burp-cloth, paying close attention that the edges of the burp-cloth are positioned uniformly all the way around.
6. Sew a Second Time
Using a straight stitch, sew completely around the outer edge of the burp cloth. Make sure that your stitches are catching the tucked-under edges of the space you are closing.
Add a second line of stitching, about 1/4 inch inside the first. This step gives added protection from fraying of the seam. In all, you will have completed three lines of stitching. One, from initial right-sides facing, and two more once you have turned the burp-cloth to where your patterned side is facing out. Remove any excess thread, and you are finished.

You Did IT!!
Congratulations on your first handmade baby burp cloth. I hope that you are pleased with your project results. Let me know how it turned out.
Thank you for stopping by and sewing with me,
Vikki
The site listed below is not an affiliate to this blog.
JOANN Fabric: the material used in this post was purchased at Joann Fabric.
In my experience, Joann Fabric seems to carry a wider selection of flannel fabrics than other stores. If you don’t see what you need, ask for help, the store clerks will know where the best bargains can be found! I went in for one yard of material and came out with an armload. Thank you, Rhonda, for pointing out the terrific deals!
One Comment