How to Make DIY Dryer-Vent Hose Pumpkin Crafts
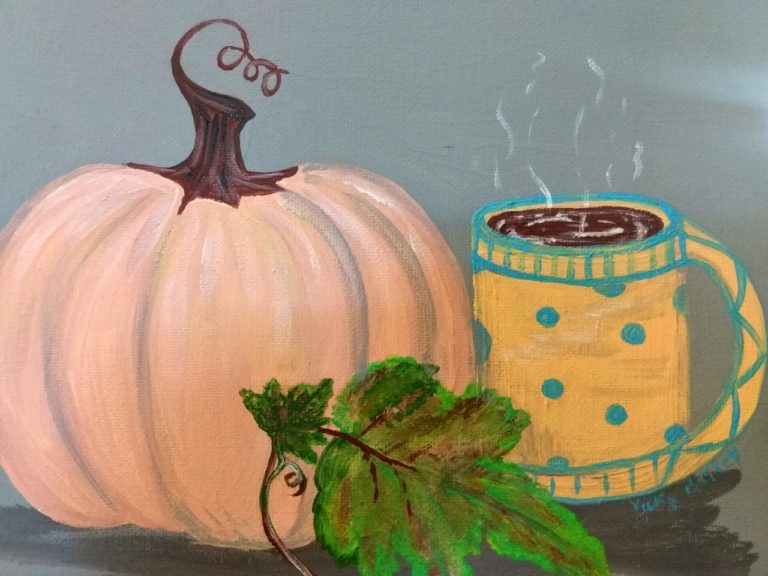
If you love Fall as much as I do, you just can’t wait to stack pumpkins on your porch and pull out all your Autumn decor. My last post was on how to create your very own pumpkin painting. In sticking with the theme, I decided to show you all how to make DIY dryer vent pumpkin crafts. This project allows you to create high-end look pumpkin decor that you can make for under $10 each. Craft these trendy pumpkins to use as farmhouse for decor, to use as centerpieces for a fall wedding, or to give as a luxury gift.
- dryer vent hose
- wire snips
- utility knife or shop scissors
- floral wire
- E6000 glue (optional)
- hot glue gun & glue
- spray paint
- drop cloth (or box)
- stick, piece of grapevine, or something to use as pumpkin stem
- silk vines, leaves, or florals of choice
Choosing Your Vent Hose
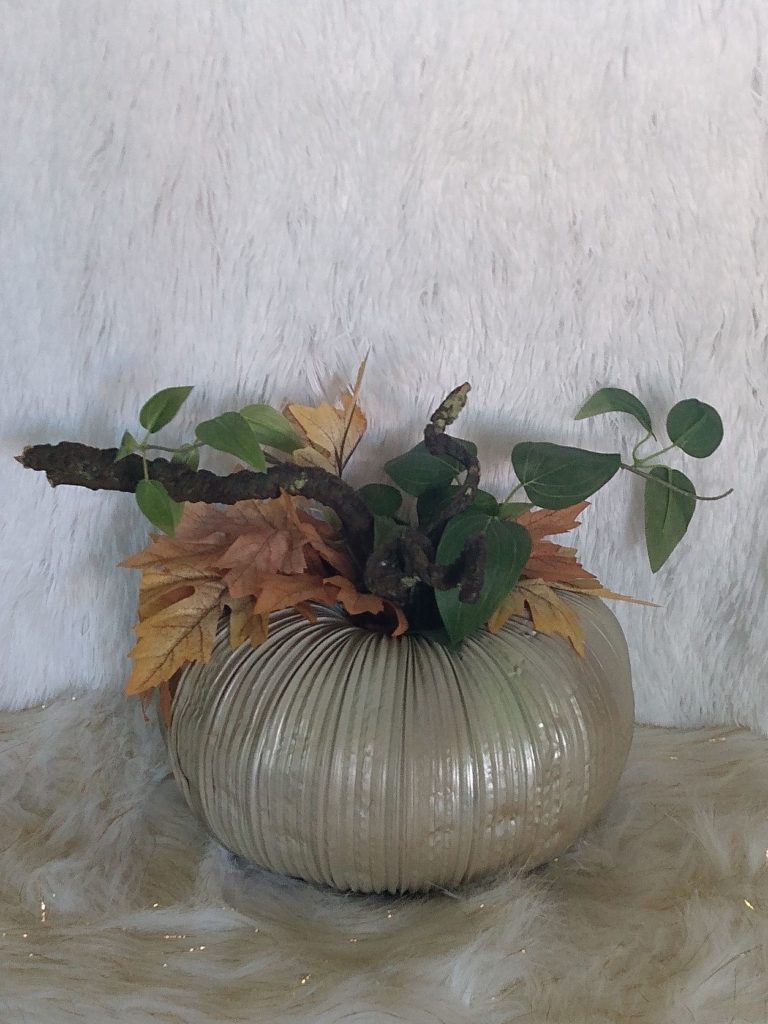
I am going to show you two different DIY dryer hose pumpkin crafts. The style of hose that you use will determine the textures of your pumpkin. A ticker vent hose is likely to have tighter bands (see the photo of the white pumpkin). You can decide which look you prefer.
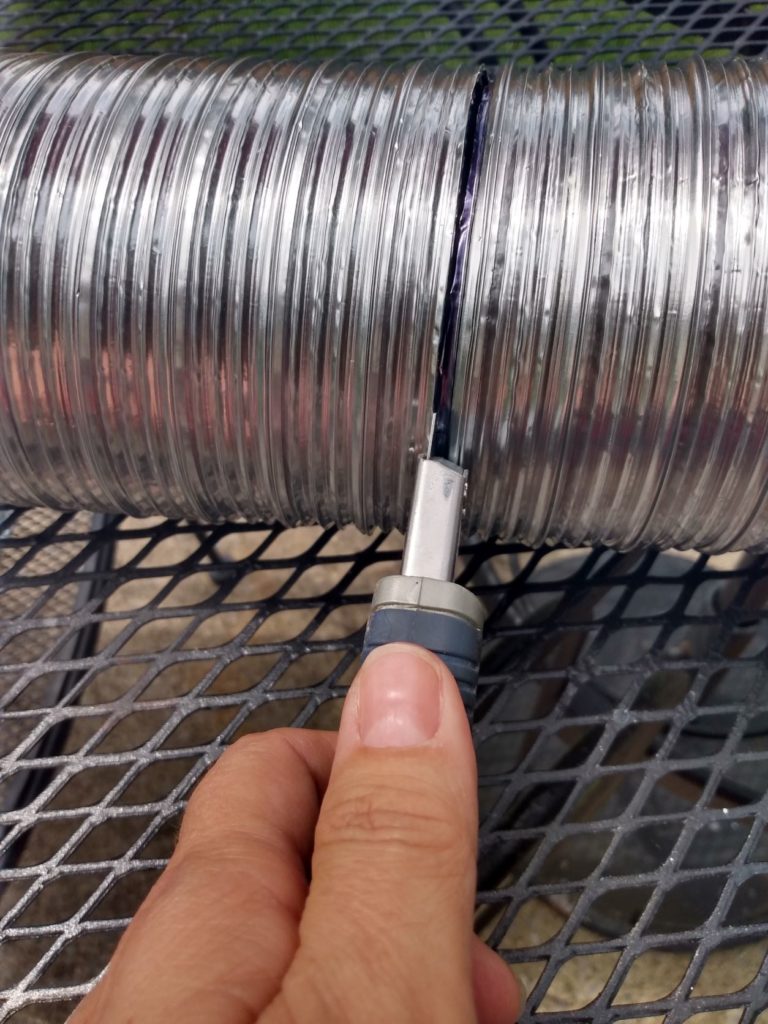
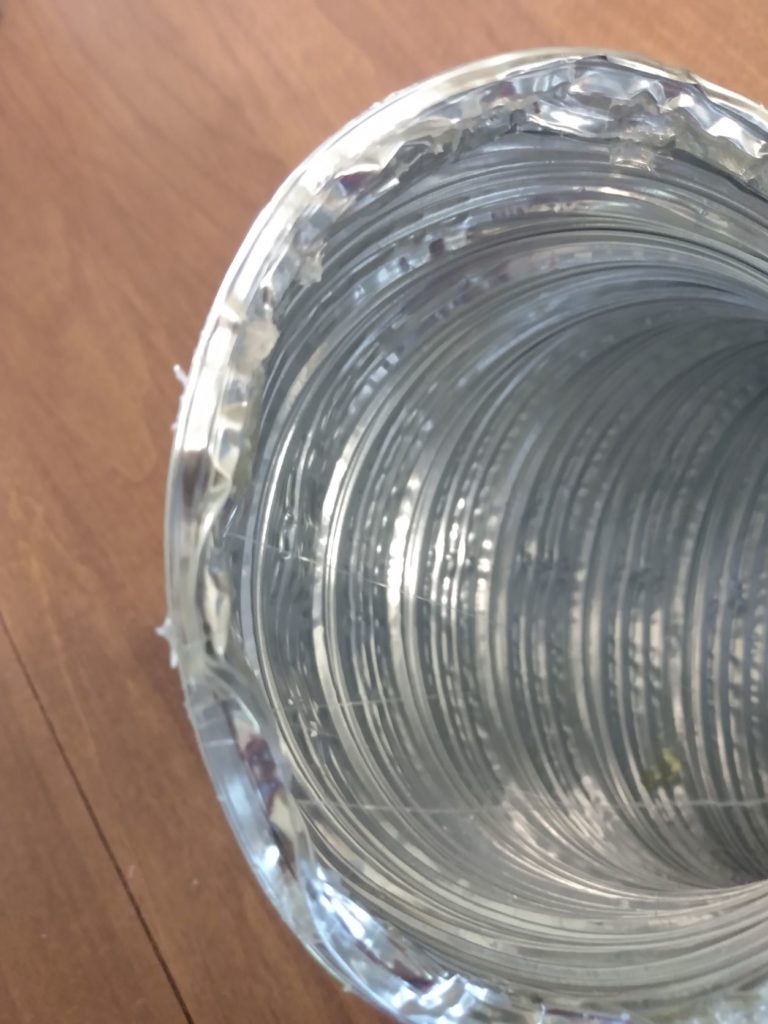
Cut the Hose
Strech out your vent hose. Use shop scissors, or a utility knife to cut your hose to your preferred length. I cut mine to a length of 24 inches.
Warning: the foil that these vents are made of will cut you. Be very careful.
Two Methods of Turning the Hose
Into a Pumpkin Shape
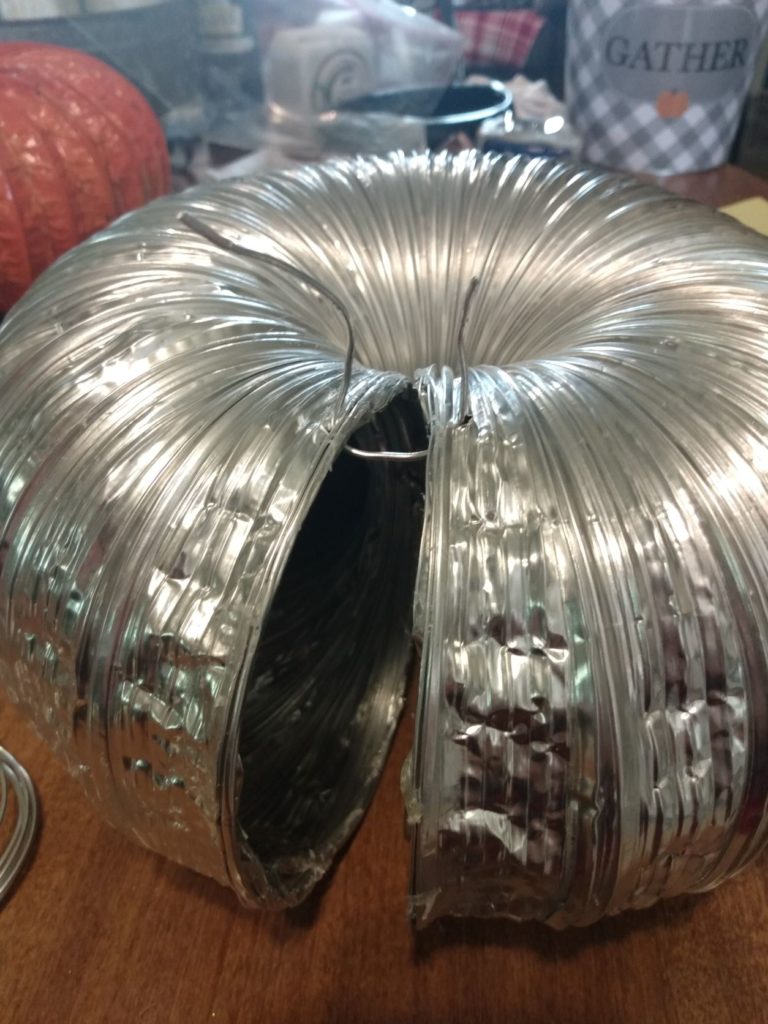
1.) E6000 glue method: You will wire the back first (the part that will end up being the hole for your stem). You may need to use a large needle to punch a hole to feed the wire through. Once you have at least four areas (placed at even intervals around the vent) of wire pushed through the hose, go back and add the E6000 glue to the cut edge of the hose, twist the wire closed, then move to the next section and repeat until all areas are glued and all four of the wires have been twisted closed. Let the glue dry for at least two hours before painting.
Note: Avoid my mistake. Do not use thick wire to pull the sides of the hose together. I made a mess! The large wire punched huge holes in the hose which I ended up having to patch with heavy-duty aluminum foil. After reading the two methods below, if you decide to use wire, I would suggest that you use floral wire to connect the two sides of the hose.
2.) Hot glue method: Pull the ends of the dryer vent hose together and hot glue the edges. Do a small section at a time. I found that starting at the back worked best. Hold until the glue sets (about 40 seconds) before moving to the next section (I use clothes pins as clamps to assist in this step). I still use floral wire to secure the bond, especially if it is going to be on a porch or sitting in the window in direct sunlight. You may opt to only use hot glue; the choice is totally yours.
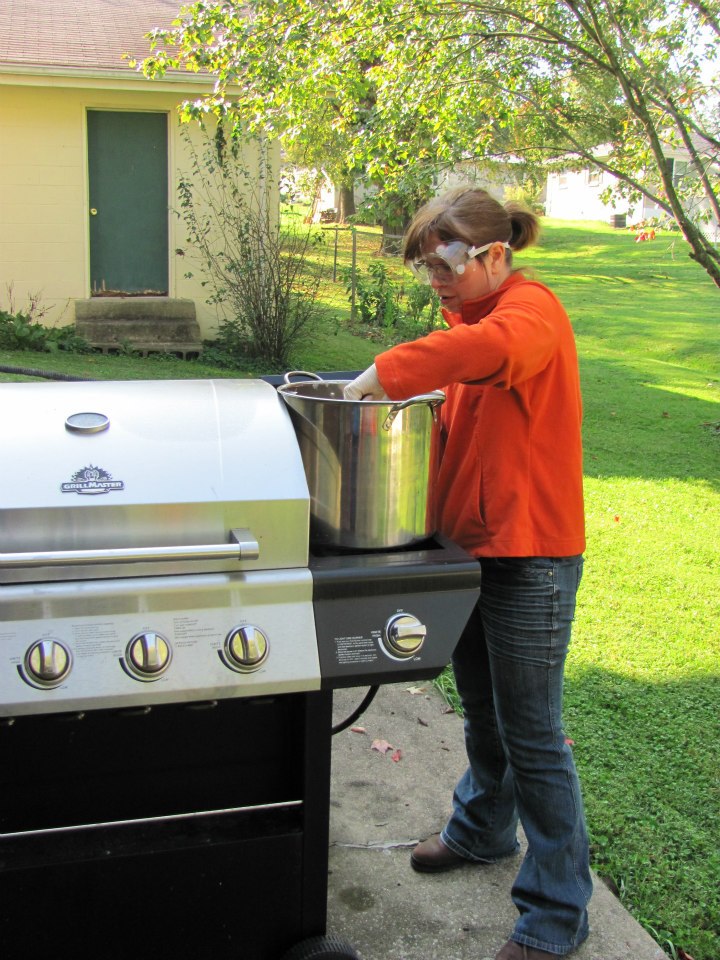
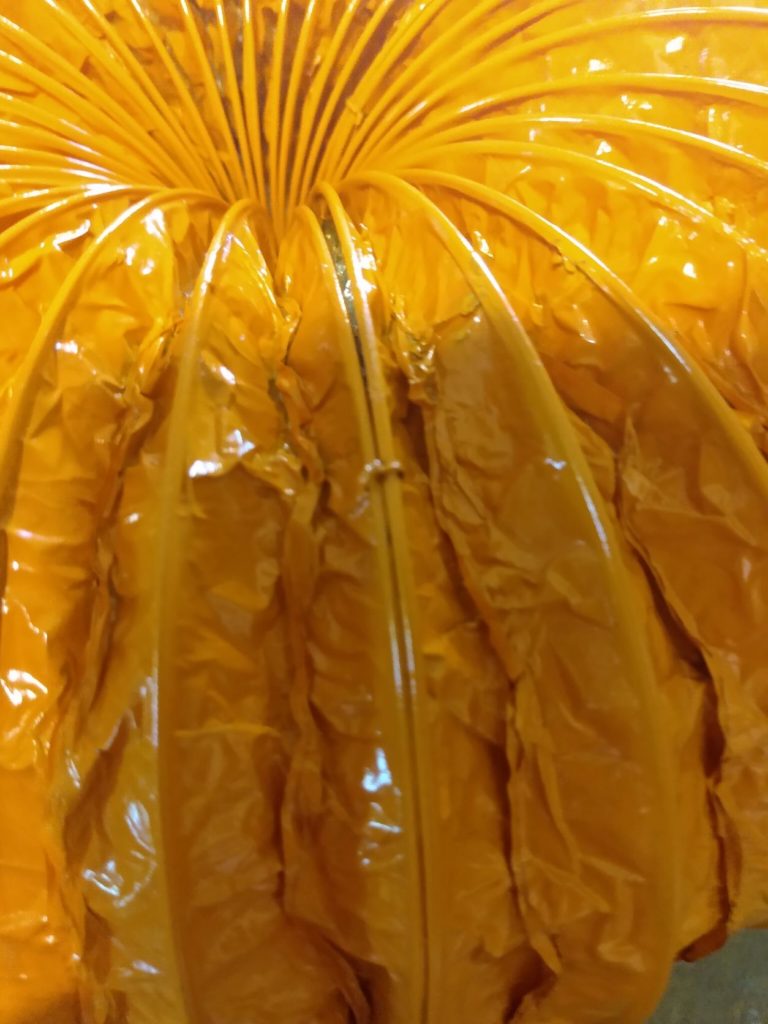
Painting Your Pumpkin
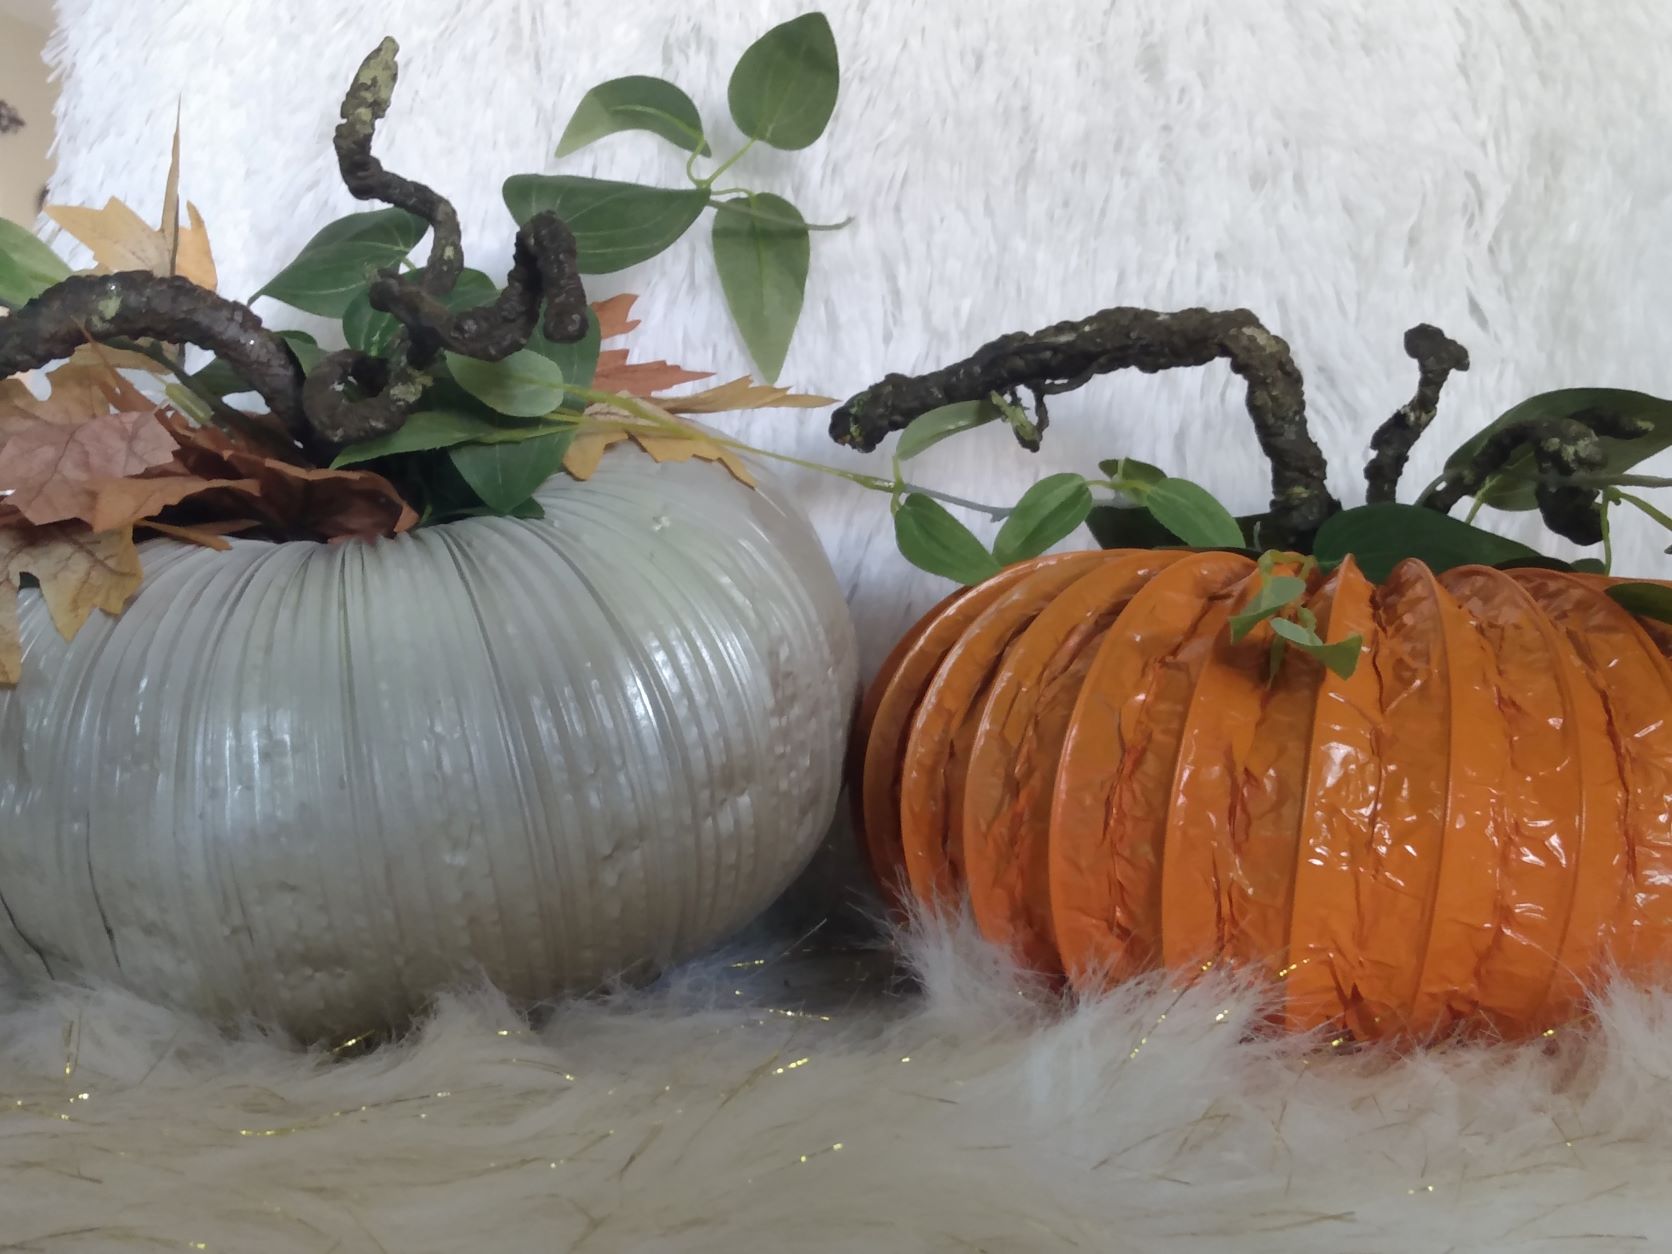
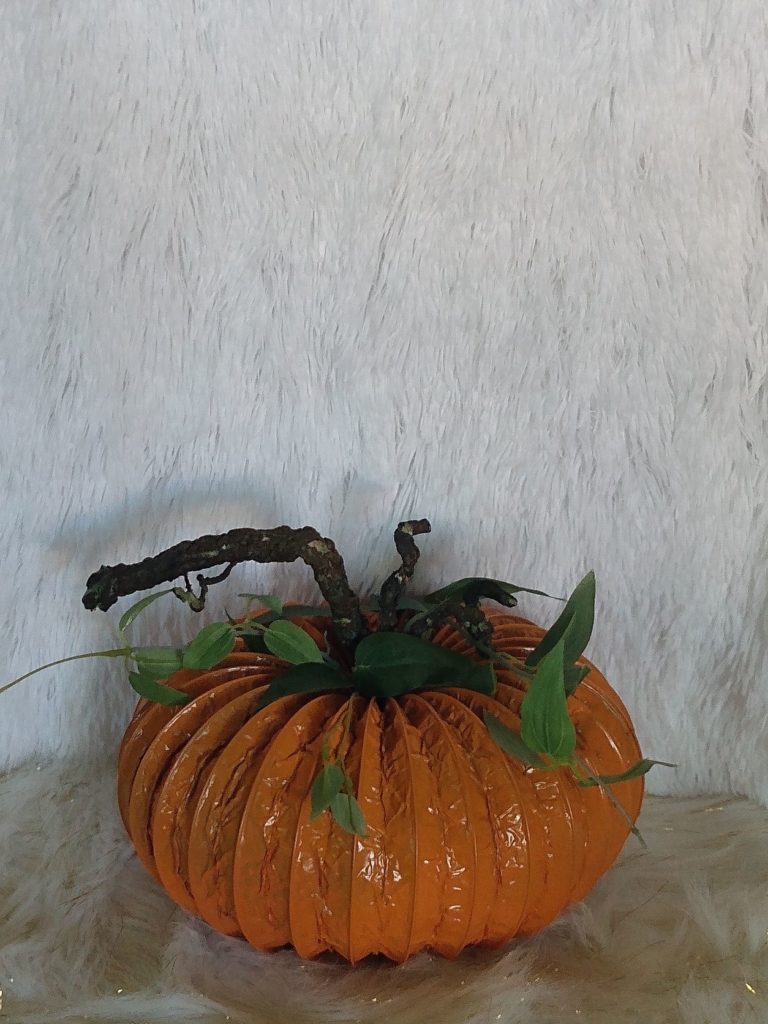
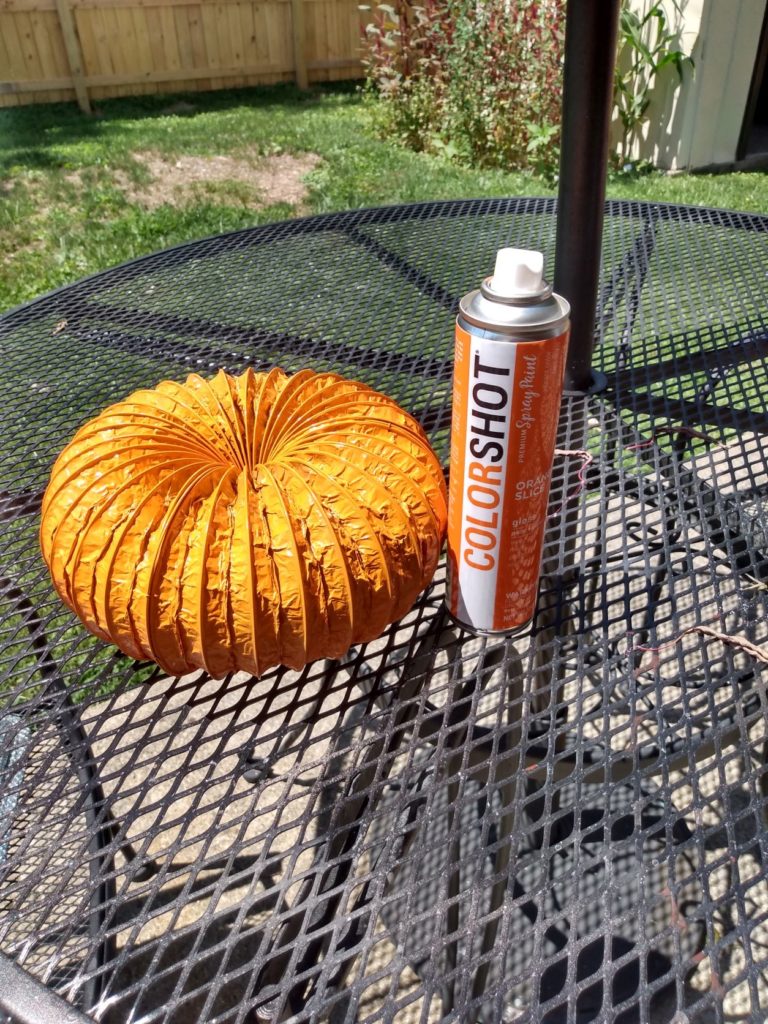
Do you want a farmhouse style pumpkin? Or, do you want your pumpkin to look more traditional? Neutral paint colors blend well with farmhouse decor. Orange tones give a more traditional look. I did one of each style so that you can see what they look like side by side.
I used two different brands of spray paint for my pumpkins. The first one that I used was Krylon Color Max in White (for a farmhouse look). The second brand that I used was ColorShot in orange. Choose a color that fits your decor style.
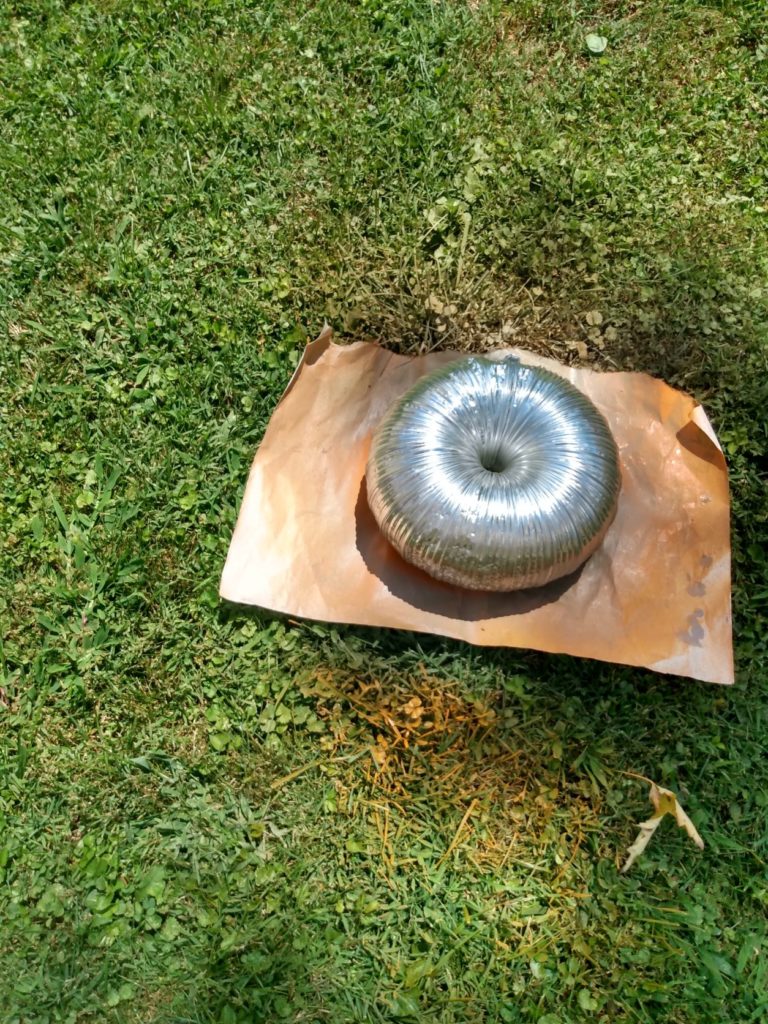
Place a box or drop cloth under your pumpkin before painting. Follow the directions on the label of your paint. Let the paint dry between coats.
Decorate Your Dryer Vent Hose Pumpkin
Find a stick or piece of grapevine to use as a stem. I used a faux vine that I cut into one-foot sections. Use hot glue to secure the stem in the middle of the pumpkin. After the hot glue sets, flip it upside down and add a bit of E6000 to the bottom of the stem.
You are now ready to add florals, faux vines, or silk leaves to your pumpkins.

You Can Do It
Dryer vent pumpkins give you the look of high-end decor that you can take pride in displaying. This trendy decor is perfect for a Fall wedding DIY, a luxury gift for giving, for Halloween and Thanksgiving decor and centerpieces. The total cost of your project will depend on the embellishments that you choose. I know that you can do it. I’d love to know how your pumpkins turned out, and what you did to make them unique.
If you love fall decor as much as I do, then you should check out one of my favorite blogs, Momenvy, and her amazing free Fall printables. You may also like my post from last week on how to paint pumpkins on canvas. Stop back by for updates and new posts. I plan to add more DIY pumpkin crafts over the next month.
Thanks for stopping in and crafting with me, drop in again soon.
Vikki