Upcycled Thrift Store Basket
Farm House Décor on the Cheap: Hey, Yeah!
Recently I started sewing baby burp cloths to add to my booth for the fall festival. As I worked, I started to think about the best way to display the burp cloths. I have baskets here at home, but they all have high sides. I needed something that would allow customers to view the cloths easily without having to dig through them.
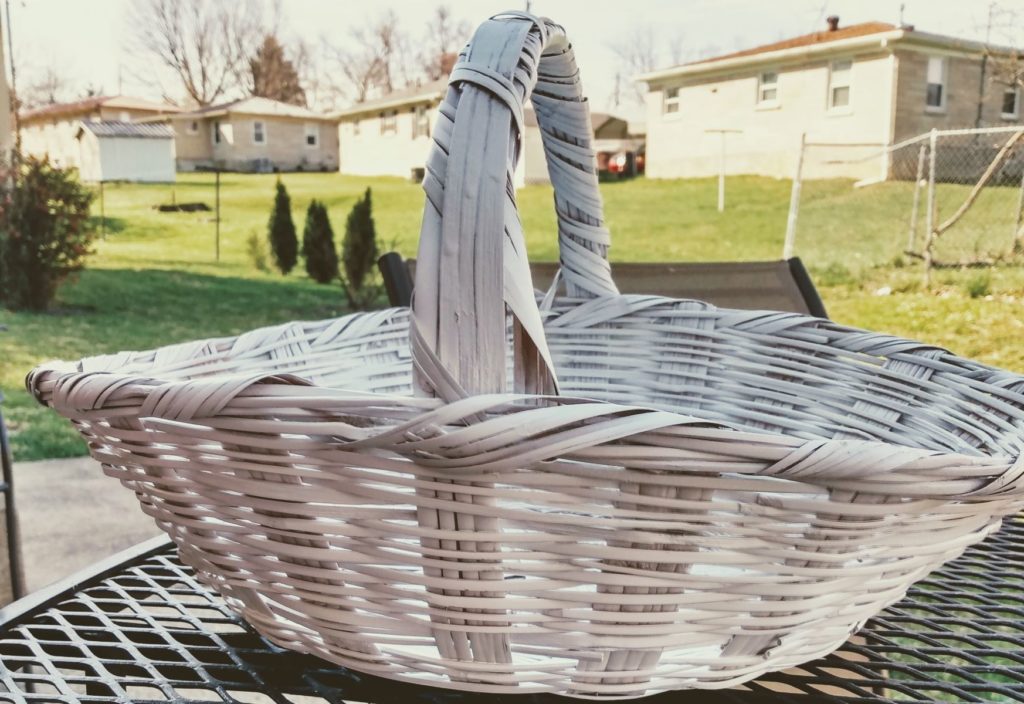
One of my favorite places to shop locally is at the Hospice Thrift Store. I have found furniture, clothing, and other items there that I have upcycled into something else. This time, I was on the hunt for a basket that was the size and shape that I needed for my display. After a couple of times stopping by the shop, I found what I was looking for. The basket that I chose was a brown wicker basket. All that it needed was paint and a liner and it would be display ready.
Supplies Needed
- scissors
- material
- basket
- hot glue gun and glue sticks
- spray paint
- twine
- cardboard box
- gloves (optional)
- wood glue (optional)
Preparing the Basket for Its Makeover.
Remove any dust from your basket.
Secure any loose pieces with wood glue or hot glue, and let the glue dry completely before painting. If using hot glue make sure it is not on the surface that is to be painted as the paint will not stick to it.
Ready to Paint
- Gather Supplies: basket, gloves, white spray paint, and a box
- Use a box to keep grass and other small items from blowing into your paint. It will also keep your lawn from having paint marks.
- Shake spray paint well. Keep the can at the distance recommended on the can for painting. Paint the bottom of basket. Use several light coats of paint, this will prevent the paint from running. Let the basket dry between coats, turning as needed to cover all areas. When the bottom area is dry, turn over and use light coats to paint the top. Paint the handle, then the under side of the handle. Let dry.
Cut Your Material
When deciding how big to cut your material, measure across the basket from the rim to the bottom, then back up to the rim at the other side. Add four inches to this measure. This is the size you will need to cut the diameter of the material (for a circular basket).
My basket is a bit of an oval shape, I measured as I would for a circular one, only I measured from the longer length.
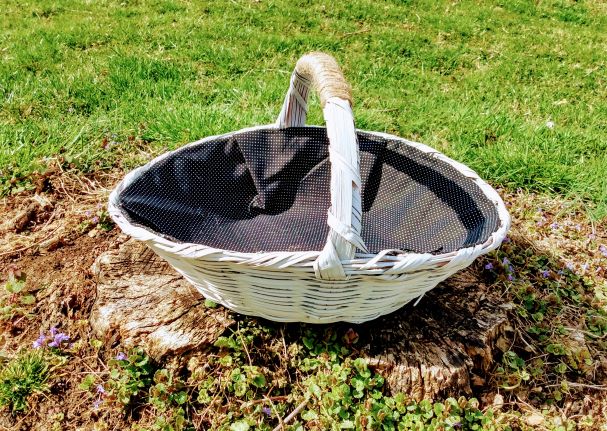
Find the center of your material and place a pin to mark it. Line that up with the center of your basket, remove the pin and use a bit of hot glue to hold it in place. Start carefully folding the edges of the material under to where the material will fit just to the top of the rim of the basket. Once you get the material in the shape you need it, place a very small dot of hot glue in four different places around the inside rim of the basket.
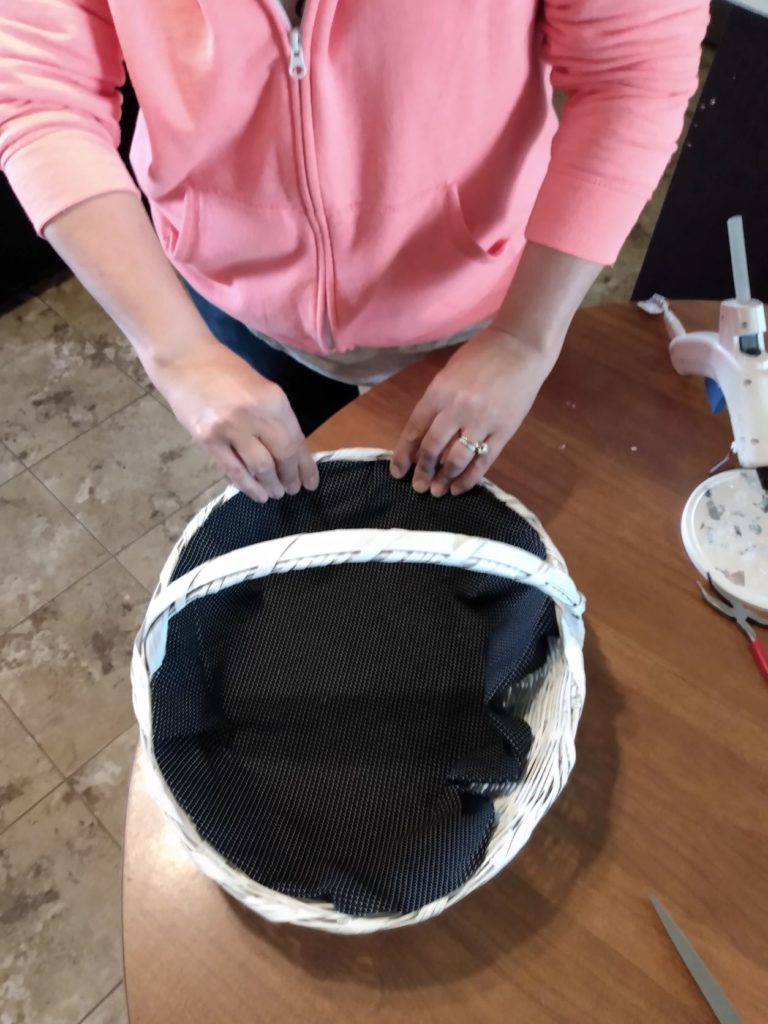
You may need to may darts (tucks) in the material to fit it snuggly to the rim. Glue in place, moving from the center of the basket to the next glue dot. Go to the other side of the basket and repeat. Do this until all four of the sections have been glued in place.
Add Twine to the Basket Handle
Cut pieces of twine that are about 12 feet in length. Use a small piece of cardboard to wrap the twine around to use as a spool. Decide how much of your handle you want to cover in twine, making sure it is centered on both sides. Mark beginning and endpoints with a small pencil mark. Place a small dot of hot glue on your pencil marks.
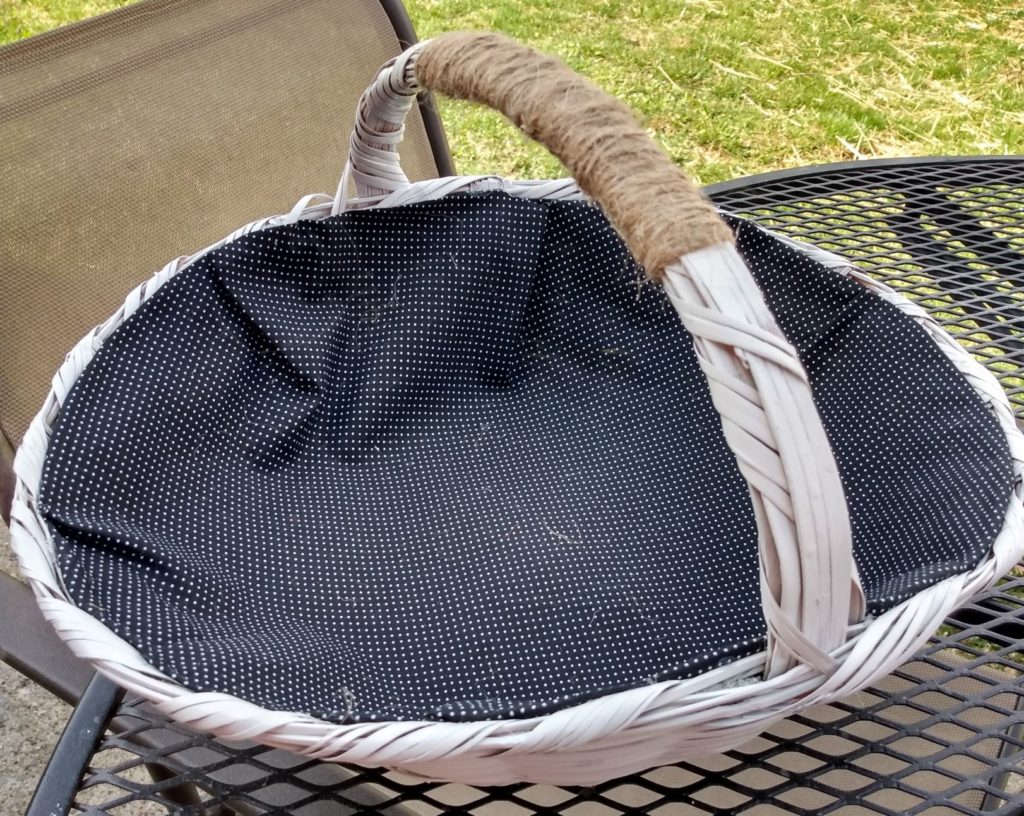
Start wrapping the twine around the handle. Occasionally use a dot of hot glue to secure as you work. Continue wrapping until your chosen area is covered. Don’t sweat it if you cut your twine too short, just cut more and again spool it around your cardboard. Place a small dot of glue to secure the new length of twine and resume work. Finish your twine with another dot of hot glue.
What it Cost For the Basket
I got the basket for $1.00.
I already had spray paint here, if you go to buy the paint it will cost about $6.00 for a quality can of paint (you should be able to paint four medium sized baskets with one can of paint).
The material was from Joann’s Fabric. I buy material when I find it on sale. This material would cost about $7 a yard at regular price. I used about 1/4 yard of fabric, but the amount you need will depend on the size of your basket.
The twine came from Dollar Tree at $1.25.
For me, the overall cost of the basket was about $4.50 (I still have paint, material, and twine for other projects so I estimated the cost for only what was used for this project).